Photo source: Shutterstock
There's something truly magical about nurturing a seed into a thriving plant in your outdoor garden. The act of planting seeds directly in the soil, feeling the earth between your fingers, and watching your garden come to life is a rewarding experience that connects us with nature. While many gardeners love the immediacy of outdoor sowing, starting seeds indoors offers numerous benefits that can enhance your outdoor gardening success.
Indoor seed starting allows you to get a head start on the growing season, especially for plants that require a longer period to mature before they can thrive outdoors. It also provides more control over the early stages of plant growth, protecting delicate seedlings from harsh outdoor conditions like late frosts or heavy rains. By mastering the art of starting seeds indoors, you'll be better equipped to create a thriving outdoor garden filled with a diverse array of healthy, robust plants ready to flourish in the open air.
In this comprehensive guide, we'll explore the ins and outs of indoor seed starting, with the ultimate goal of transplanting your seedlings to your outdoor garden. We'll cover everything from timing and essential supplies to step-by-step planting instructions and troubleshooting tips. Let's dive in and discover how this indoor preparation can lead to a more bountiful outdoor harvest and a garden that's the envy of your neighborhood.
Table of Contents
- Understanding the basics of seed starting
- Choosing the right seeds and containers
- Providing proper growing conditions
- The seed growing stages
- Key steps in planting seeds
- When to start seeds indoors - timing is everything
- Essential supplies for starting seeds
- Step-by-step guide to planting seeds indoors
- Caring for seedlings - light, water, and temperature
- Providing adequate light
- Proper watering techniques
- Maintaining optimal temperature
- Additional care tips for healthy seedlings
- Choosing the best seeds to start indoors
- Troubleshooting common seed starting problems
Understanding the basics of seed starting
Starting seeds indoors is an excellent way to get a jump start on the growing season and cultivate a wider variety of plants for your outdoor garden. The process involves a few key steps and considerations:
Choosing the right seeds and containers
Pick seeds that benefit from an early indoor start, such as tomatoes, peppers, and many annual flowers. Use clean containers with drainage holes, like seed trays or small pots filled with a sterile, lightweight seed starting mix.
Providing proper growing conditions
Seeds need consistent moisture and warmth to sprout. Cover containers with clear plastic to keep humidity in and place them somewhere warm or on a heat mat. Most seeds don't need light to germinate, but once they sprout, seedlings need 12-16 hours of bright light daily to grow strong for outdoor planting.
The seed growing stages
-
Germination: Seeds absorb water and begin to sprout
-
Emergence: Seedlings break through the soil surface
-
Cotyledon stage: First leaves (seed leaves) appear
-
True leaf stage: First set of true leaves develop
Key steps in planting seeds
-
Moisten the seed starting mix
-
Fill containers and create shallow depressions for seeds
-
Plant seeds at the proper depth (usually 2-3 times their width)
-
Cover seeds lightly with mix and water gently
-
Provide warmth and consistent moisture
-
Once sprouted, ensure adequate light and air circulation
As seedlings grow, you might need to thin them out, feed them with a diluted fertilizer, and gradually "harden them off" before moving them to your outdoor garden. By understanding these basics, you'll be well on your way to successfully starting seeds indoors and nurturing healthy plants for your outdoor space.

Photo source: Shutterstock
When to start seeds indoors - timing is everything
Knowing when to start seeds indoors is crucial for successful outdoor gardening. The timing depends on several factors:
-
Your local last frost date
-
The specific plant variety
-
How long the seedlings take to mature
As a general rule, most vegetable seeds should be started indoors 6-8 weeks before your area's average last frost date. However, some plants require longer growing periods:
-
Peppers and eggplants: 8-10 weeks before last frost
-
Tomatoes: 6-8 weeks before last frost
-
Broccoli and cabbage: 4-6 weeks before last frost

Photo source: Shutterstock
To determine the best time to start seedlings for your outdoor garden:
-
Find your area's average last frost date
-
Check seed packets for specific timing recommendations
-
Count backwards from the last frost date to determine sowing time
Many gardeners use a seed starting chart to keep track of when to sow different varieties. These charts typically include:
-
Plant names
-
Weeks to start before last frost
-
Germination time
-
Transplanting dates
Starting seeds at the right time ensures your seedlings are strong enough for transplanting when outdoor conditions are favorable. This timing maximizes your growing season and leads to healthier, more productive plants in your garden.
Essential supplies for starting seeds
To successfully start seeds for your outdoor garden, you'll need a few key supplies:
Growing medium
Use a sterile, lightweight seed starting mix rather than regular potting soil. This provides ideal conditions for germination and prevents disease.

Photo source: Shutterstock
Light source
Seedlings need 12-16 hours of light daily to grow strong for outdoor planting. Options include:
Heat source
Many seeds germinate best in warm soil. Consider using:
-
Seedling heat mats
-
Warm location in your home (top of refrigerator, etc.)
Watering supplies
To keep soil consistently moist:
-
Spray bottle for misting
-
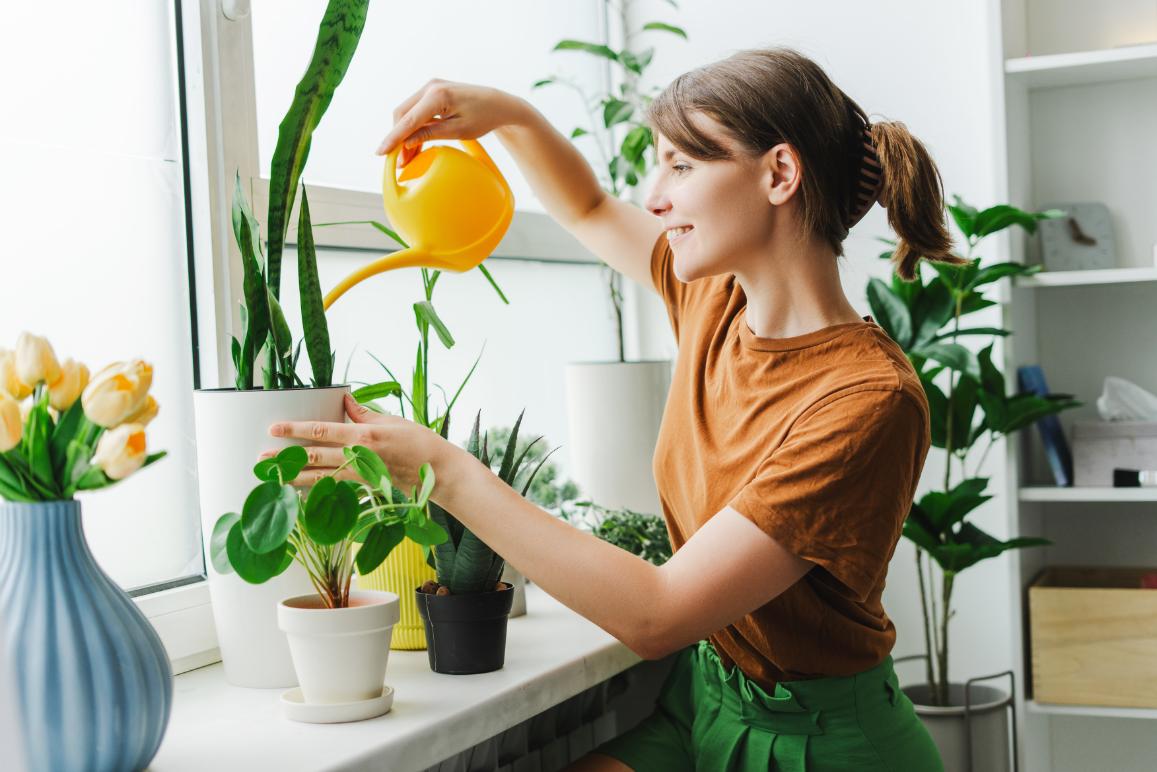
Small watering can with a fine rose attachment
-
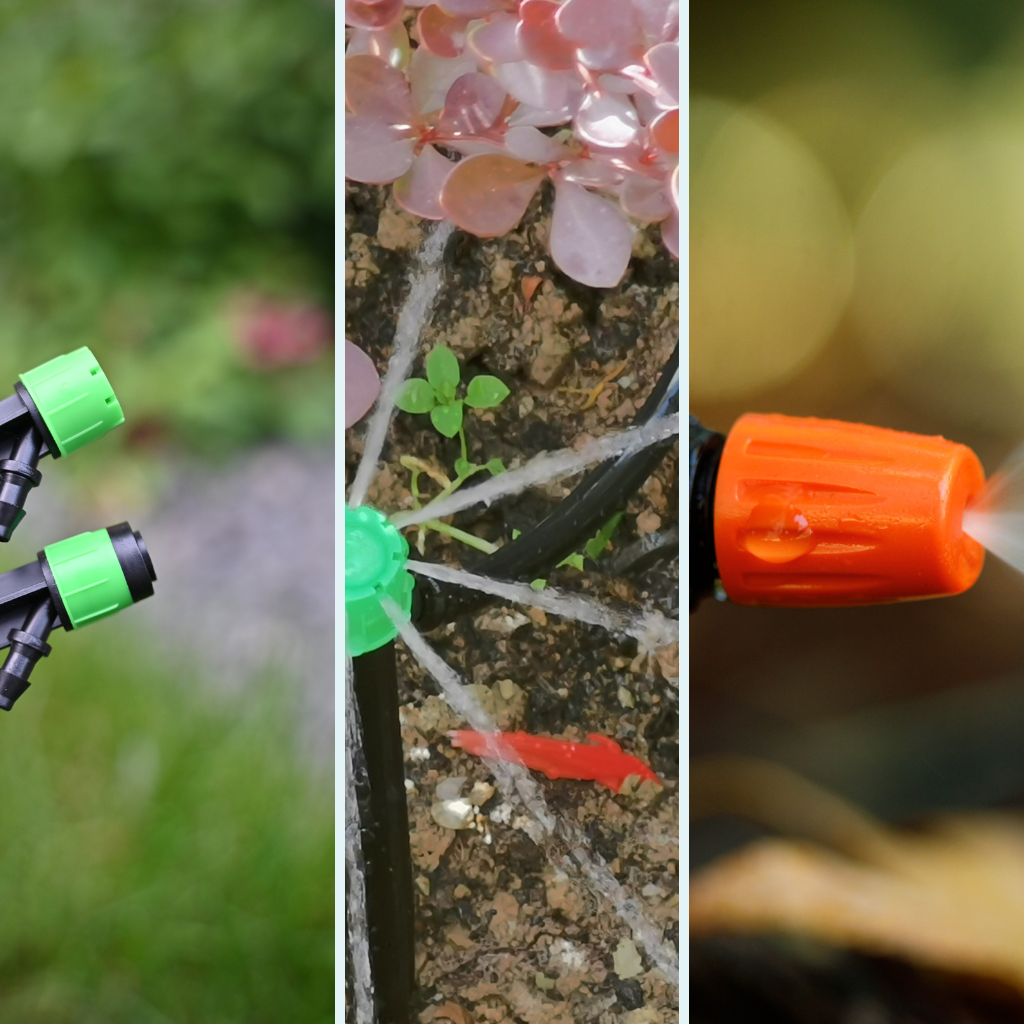
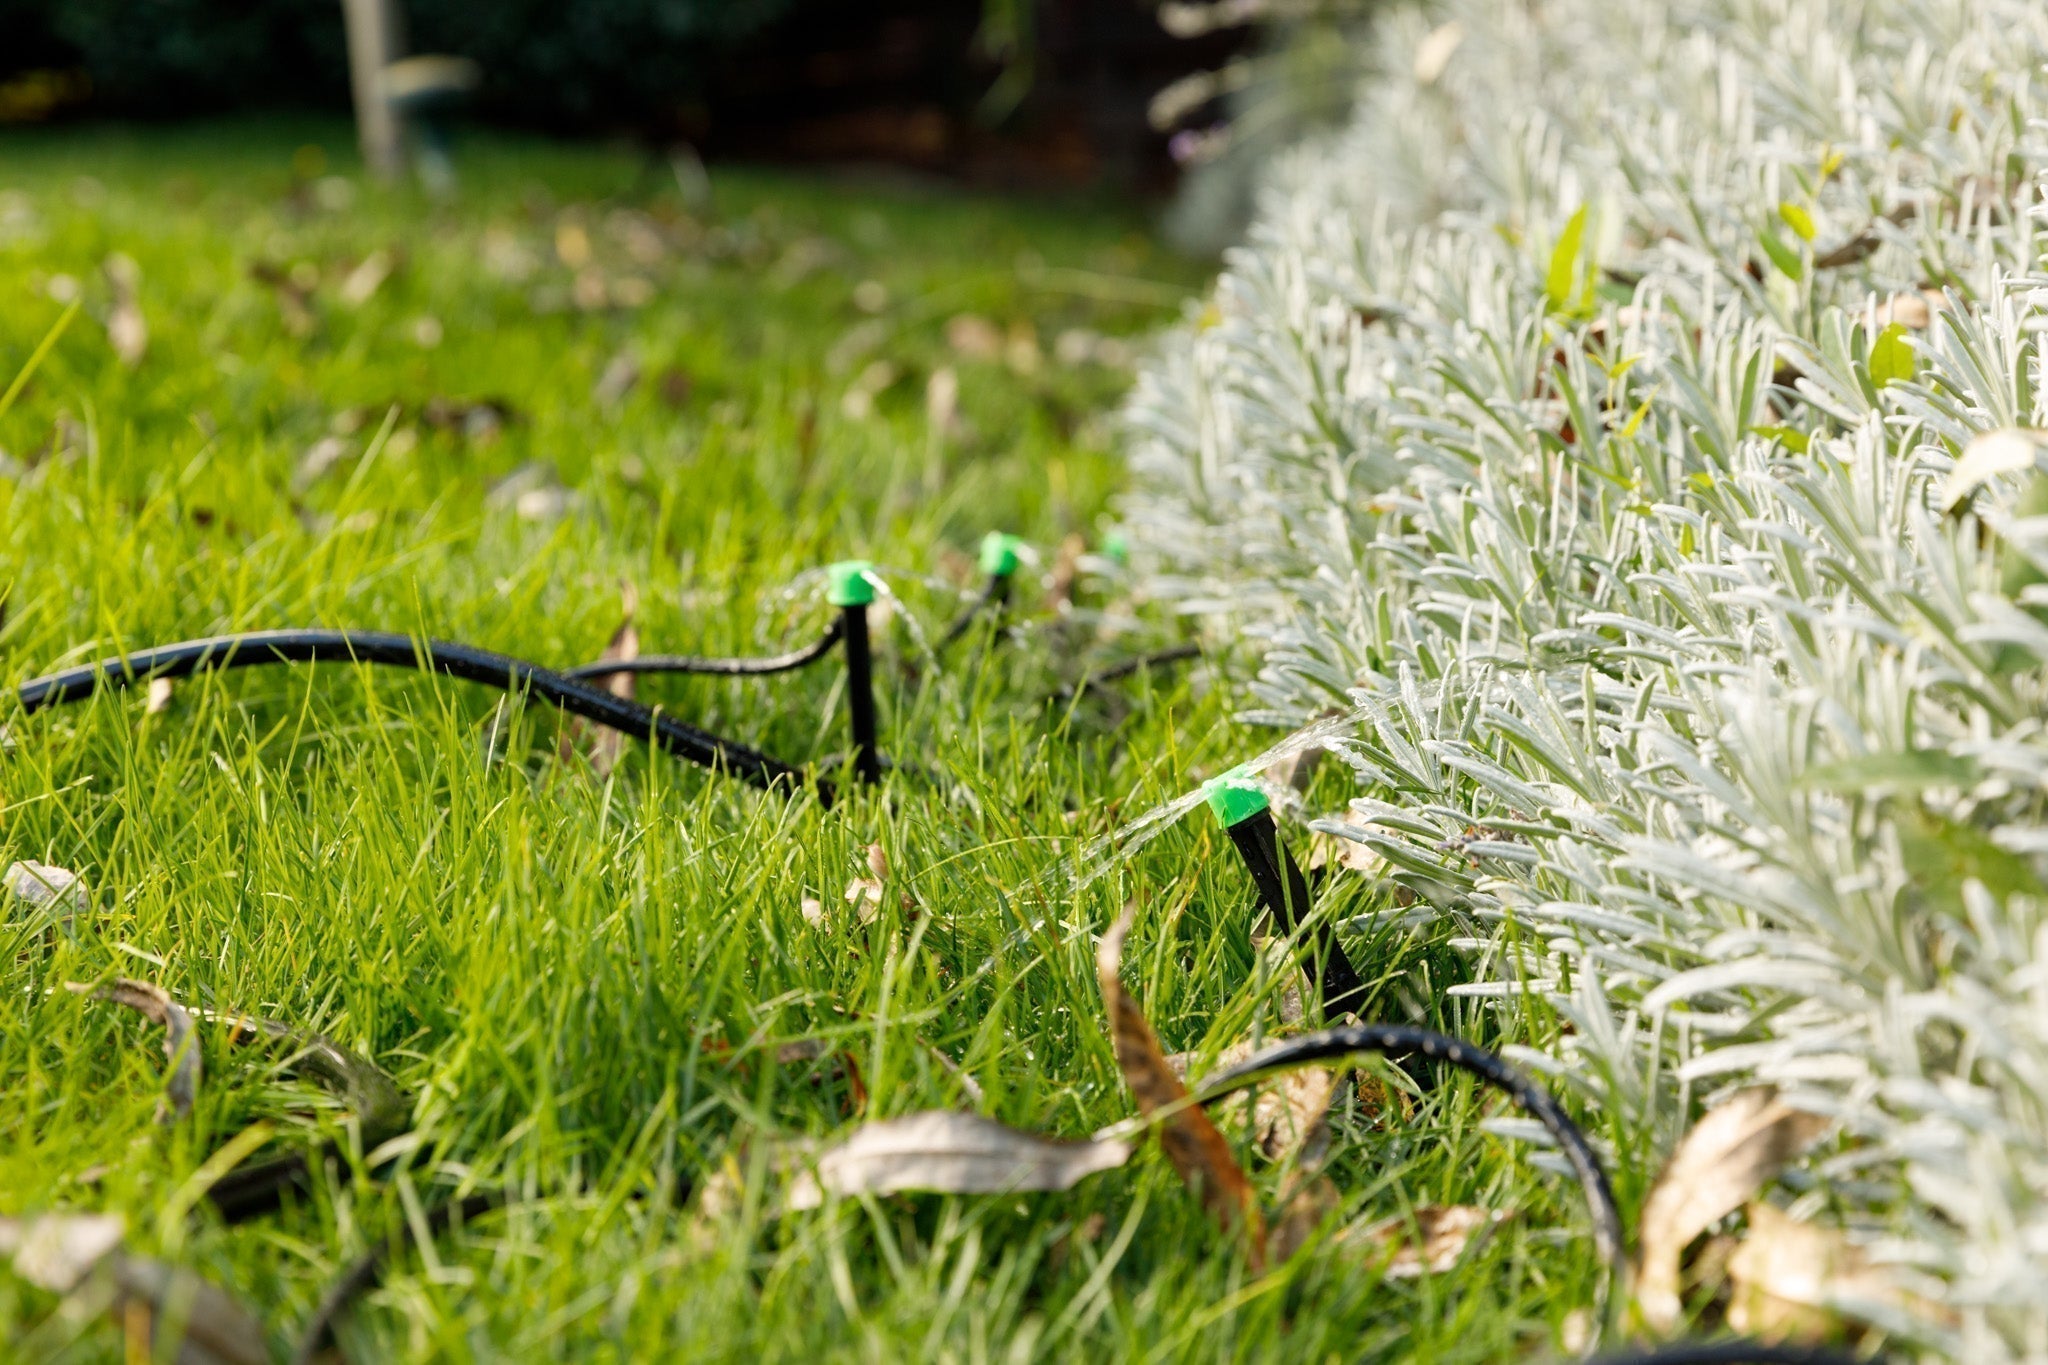
Drip irrigation systems for efficient and consistent watering
Labels and markers
Keep track of what you've planted with:
-
Plastic plant labels
-
Wooden craft sticks
-
Permanent marker
With these essential supplies, you'll be well-equipped to grow healthy seedlings and get a head start on your outdoor garden.
Step-by-step guide to planting seeds indoors
Follow these steps to successfully start seeds indoors and grow healthy seedlings for your outdoor garden:
-
Gather supplies: You'll need seeds, seed-starting mix, containers with drainage holes, labels, and a water source.
-
Prepare containers: Fill containers with pre-moistened seed-starting mix, leaving about 1/4 inch of space at the top.
-
Plant seeds: Make shallow indentations in the soil and place 2-3 seeds per cell, following depth recommendations on the seed packet.
-
Cover and label: Gently cover seeds with soil and mist the surface. Label each container with the plant name and sowing date.
-
Provide warmth and moisture: Cover containers with plastic wrap or a dome lid to retain humidity. Place in a warm location or on a heat mat.
-
Monitor and water: Check daily for germination and soil moisture. Water gently from below when the surface feels dry.
-
Provide light: Once seedlings emerge, remove covers and place under grow lights for 12-16 hours daily, keeping lights 2-4 inches above plants.
-
Thin seedlings: When seedlings develop their first true leaves, thin to one plant per cell by snipping extras at the soil line.
-
Fertilize: Begin feeding seedlings with a diluted liquid fertilizer every 1-2 weeks after the first true leaves appear.
-
Harden off: About a week before transplanting outdoors, gradually expose seedlings to outdoor conditions to acclimate them.
-

Photo source: Shutterstock
By following these steps, you'll be well on your way to successfully growing plants from seeds indoors. This method allows you to get a head start on the growing season and cultivate a wider variety of plants for your outdoor garden.
Caring for seedlings - light, water, and temperature
Once your seeds have germinated, proper care of the seedlings is crucial for developing healthy plants that will thrive when moved to your outdoor garden. The three most important factors to focus on are light, water, and temperature.
Providing adequate light
Seedlings require 12-16 hours of bright light daily to grow strong and prevent legginess. A sunny south-facing window may not provide enough light, especially in winter. For best results:
-
Use full-spectrum grow lights positioned 2-4 inches above seedlings
-
Keep lights on for 14-16 hours per day
-
Raise lights as plants grow taller
-
Rotate trays regularly for even growth
Proper watering techniques
Consistent moisture is key for seedling health, but overwatering can lead to damping off disease. To water seedlings properly:
-
Keep soil evenly moist but not waterlogged
-
Water from the bottom by placing trays in shallow water for 10-30 minutes
-
Allow soil surface to dry slightly between waterings
-
Use room temperature water to avoid shocking tender roots
-
Consider using drippers or emitters for precise watering
Maintaining optimal temperature
Most seedlings thrive in temperatures between 65-75°F (18-24°C). To regulate temperature:
-
Use a thermometer to monitor ambient air and soil temperature
-
Provide bottom heat with a seedling heat mat if needed
-
Avoid cold drafts and extreme temperature fluctuations
-
Gradually acclimate seedlings to outdoor temperatures before transplanting
Additional care tips for healthy seedlings
To give your seedlings the best start for a successful transition to your outdoor garden:
-
Ensure good air circulation with a small fan to prevent disease
-
Begin fertilizing with a diluted, balanced fertilizer after true leaves appear
-
Thin overcrowded seedlings to allow proper growth
-
Transplant into larger containers if seedlings outgrow their original pots
By carefully managing light, water, and temperature, you'll be well on your way to nurturing healthy seedlings ready for transplanting to your outdoor garden.
Choosing the best seeds to start indoors
Selecting the right seeds is crucial for successful indoor seed starting and a thriving outdoor garden. When deciding what seeds to start indoors, consider these factors:
Vegetables
Some of the best seeds to start indoors for vegetables include:
-
Tomatoes
-
Peppers
-
Eggplant
-
Broccoli
-
Cabbage
-
Cauliflower
-
Lettuce
These vegetables benefit from an early start indoors, as they require a longer growing season to produce fruit in your outdoor garden.
Flowers
Many annual and perennial flowers do well when started indoors. Some popular choices to start flower seeds indoors for later outdoor planting are:
-
Marigolds
-
Zinnias
-
Petunias
-
Impatiens
-
Cosmos
-
Snapdragons
-
Pansies

Considerations for choosing seeds
When selecting seeds for indoor starting and eventual outdoor planting, keep in mind:
-
Your local climate and growing season length
-
The time required for seedlings to mature before transplanting outdoors
-
Space available for indoor growing
-
Light requirements for different plant varieties
-
Seed viability and germination rates
By carefully choosing the best seeds to start indoors, you can get a head start on your garden and enjoy a wider variety of plants throughout the growing season in your outdoor space.
Troubleshooting common seed starting problems
Even experienced gardeners can encounter issues when starting seeds indoors for outdoor planting. Here are some common problems and solutions to help you achieve success:
Damping off
Damping off is a fungal disease that causes seedlings to suddenly wilt and die. To prevent this:
-
Use sterile seed starting mix
-
Avoid overwatering
-
Ensure good air circulation
-
Clean containers thoroughly before use
Leggy seedlings
Seedlings that grow tall and spindly are usually not receiving enough light. To fix this:
-
Provide 12-16 hours of bright light daily
-
Keep grow lights 2-4 inches above seedlings
-
Rotate trays regularly for even growth
Seeds not germinating
If your seeds aren't sprouting, consider these factors:
-
Check soil temperature - many seeds need warmth to germinate
-
Ensure consistent moisture without overwatering
-
Verify seed viability and planting depth
Mold growth
To prevent mold on soil surface or seedlings:
-
Improve air circulation with a small fan
-
Water from the bottom instead of overhead
-
Remove humidity domes once seeds germinate
Nutrient deficiencies
Yellowing leaves or stunted growth may indicate nutrient issues. To address this:
-
Begin fertilizing with a diluted, balanced fertilizer after true leaves appear
-
Transplant seedlings to larger containers if they outgrow their space
By addressing these common problems, you'll be well on your way to mastering the art of starting seeds indoors for a thriving outdoor garden. Remember that practice and observation are key to improving your seed starting skills over time.
Starting seeds indoors is a rewarding process that sets the stage for a thriving outdoor garden. As you prepare to transplant your carefully nurtured seedlings, remember these key points for outdoor planting success:
-
Hardening off: Gradually acclimate your seedlings to outdoor conditions over 7-10 days before transplanting.
-
Timing: Choose a cloudy day or late afternoon to transplant, reducing transplant shock.
-
Soil preparation: Ensure your garden soil is well-prepared with organic matter and proper drainage.
-
Spacing: Follow recommended spacing guidelines for each plant type to allow proper growth.
-
Watering: Keep newly transplanted seedlings consistently moist but not waterlogged. Consider implementing a drip irrigation system for efficient watering.
-
Protection: Use row covers or cloches to protect young plants from pests and harsh weather.

By mastering the art of starting seeds indoors and successfully transitioning them to your outdoor garden, you're setting yourself up for a bountiful and diverse harvest. The skills you've learned in this guide will serve you well season after season, allowing you to experiment with a wide variety of plants and extend your growing season.
As you move your seedlings outdoors, take time to appreciate the journey from tiny seed to thriving plant. Watch how your carefully nurtured seedlings adapt to their new environment, putting down roots and reaching for the sky. Your outdoor garden will soon be filled with robust plants that got their start under your attentive care indoors.
Remember, gardening is a journey of continuous learning and adaptation. Embrace the process, learn from both successes and challenges, and enjoy the incredible satisfaction of nurturing plants from seed to harvest in your outdoor garden. With patience, practice, and the knowledge you've gained, you're well on your way to creating a vibrant, productive outdoor space that will bring joy throughout the growing season. Happy gardening!


