Sticker shock is common when you start comparing drip irrigation kits. Product pages quote different “list prices,” show eye-catching discounts, and bundle a mix of tubing, emitters, and fittings that rarely looks the same from one brand to another. It’s not always obvious what you’re paying for, or whether a higher price actually means a better system.
This guide gives a transparent, brand-neutral cost breakdown so budget-conscious gardeners and first-time buyers understand the main cost drivers and where real savings come from. Rather than chasing the lowest number on the page, we’ll focus on value over time—how long the system lasts, how well it protects your plants, and how much water and effort it can save you. Where it makes sense, we’ll also mention how Carpathen kits fit into that bigger picture in terms of component mix and long-term value.
Table of Contents
- The Real Cost of Drip Irrigation Systems
- Barbed vs. Push-to-Connect: Price & Practical Differences
- Tubing Length & Layout: Your Biggest Multiplier
- Emitters & Watering Style: What Affects Price
- Accessories That Add Cost—but Save the System
- Installation: DIY vs. Pro
- Long-Term Savings: How Drip Pays Back
- Spend Less: Smart Ways to Buy
- 3-Year Value Snapshot
- Quick Context: Where Carpathen Fits
- Frequently Asked Questions
- Conclusion
The Real Cost of Drip Irrigation Systems
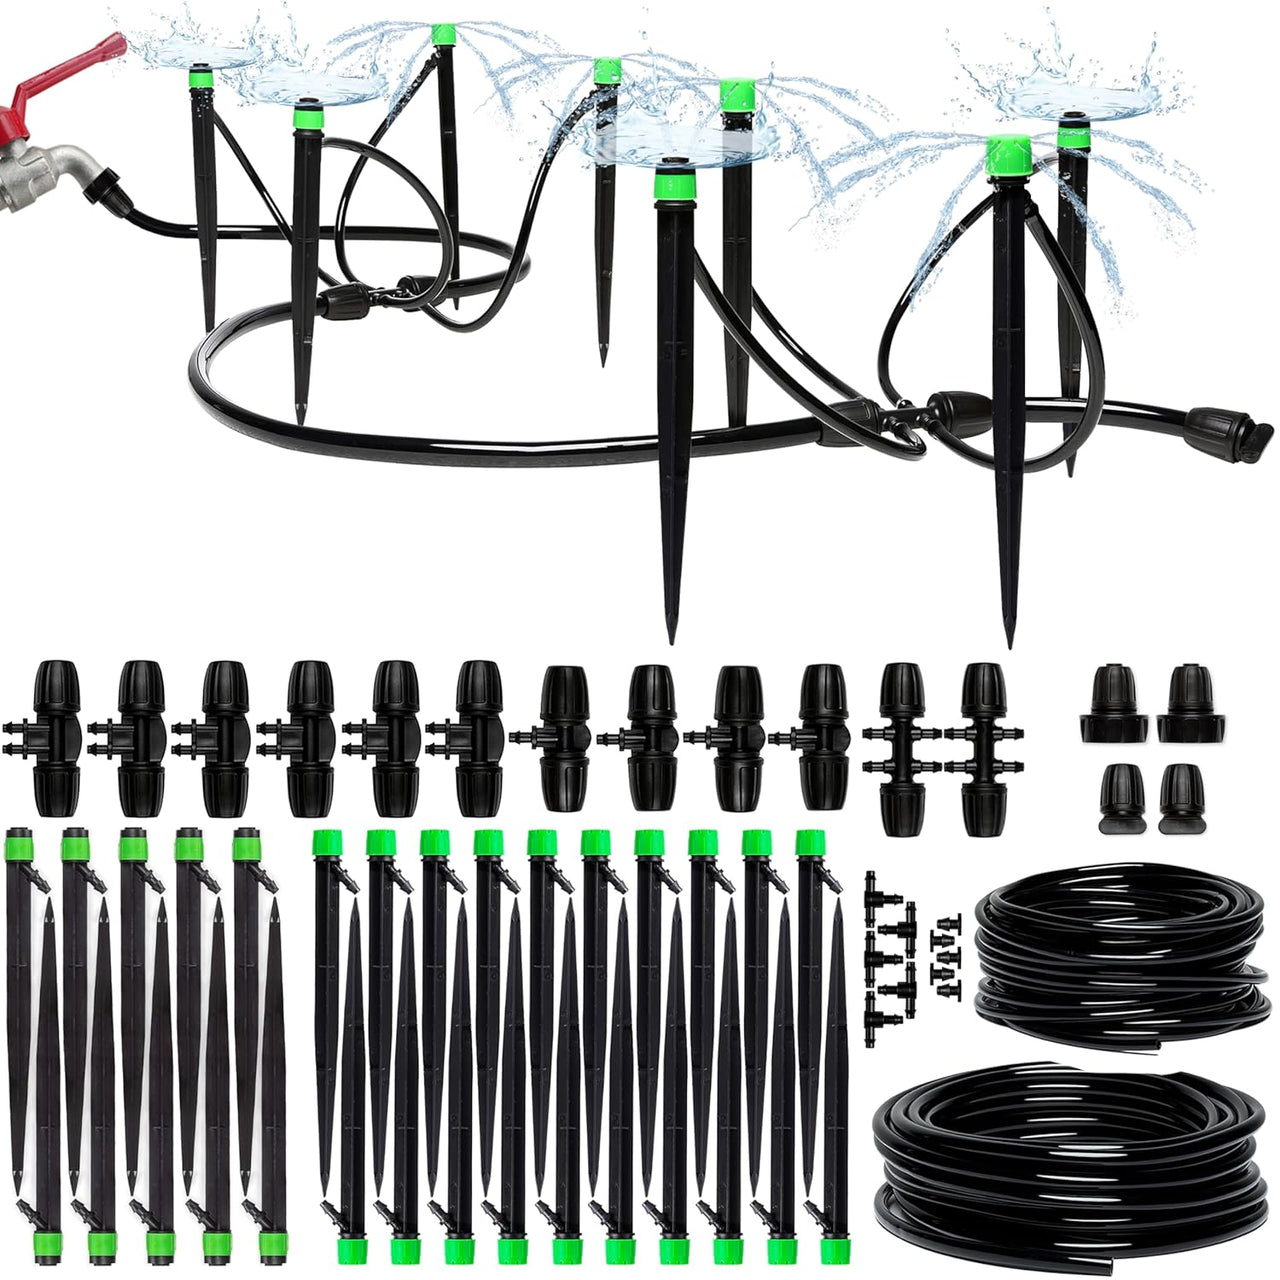
For most home gardens—raised beds, borders, planters, or small yards—a complete drip kit from a reputable brand tends to fall within a similar general bracket. The differences you see on the product page usually come down to:
- System type: barbed vs. push-to-connect fittings and how they’re engineered.
- Scale: total tubing length and the number of emitters the kit is designed to support.
- Built-in protection: whether a filter and pressure regulator are included in the box.
Two kits can look similar at a glance, but if one includes more mainline tubing, better UV-resistant materials, and proper protection at the faucet, it will naturally sit at a different price level than a bare-bones starter set.
Barbed vs. Push-to-Connect: Price & Practical Differences
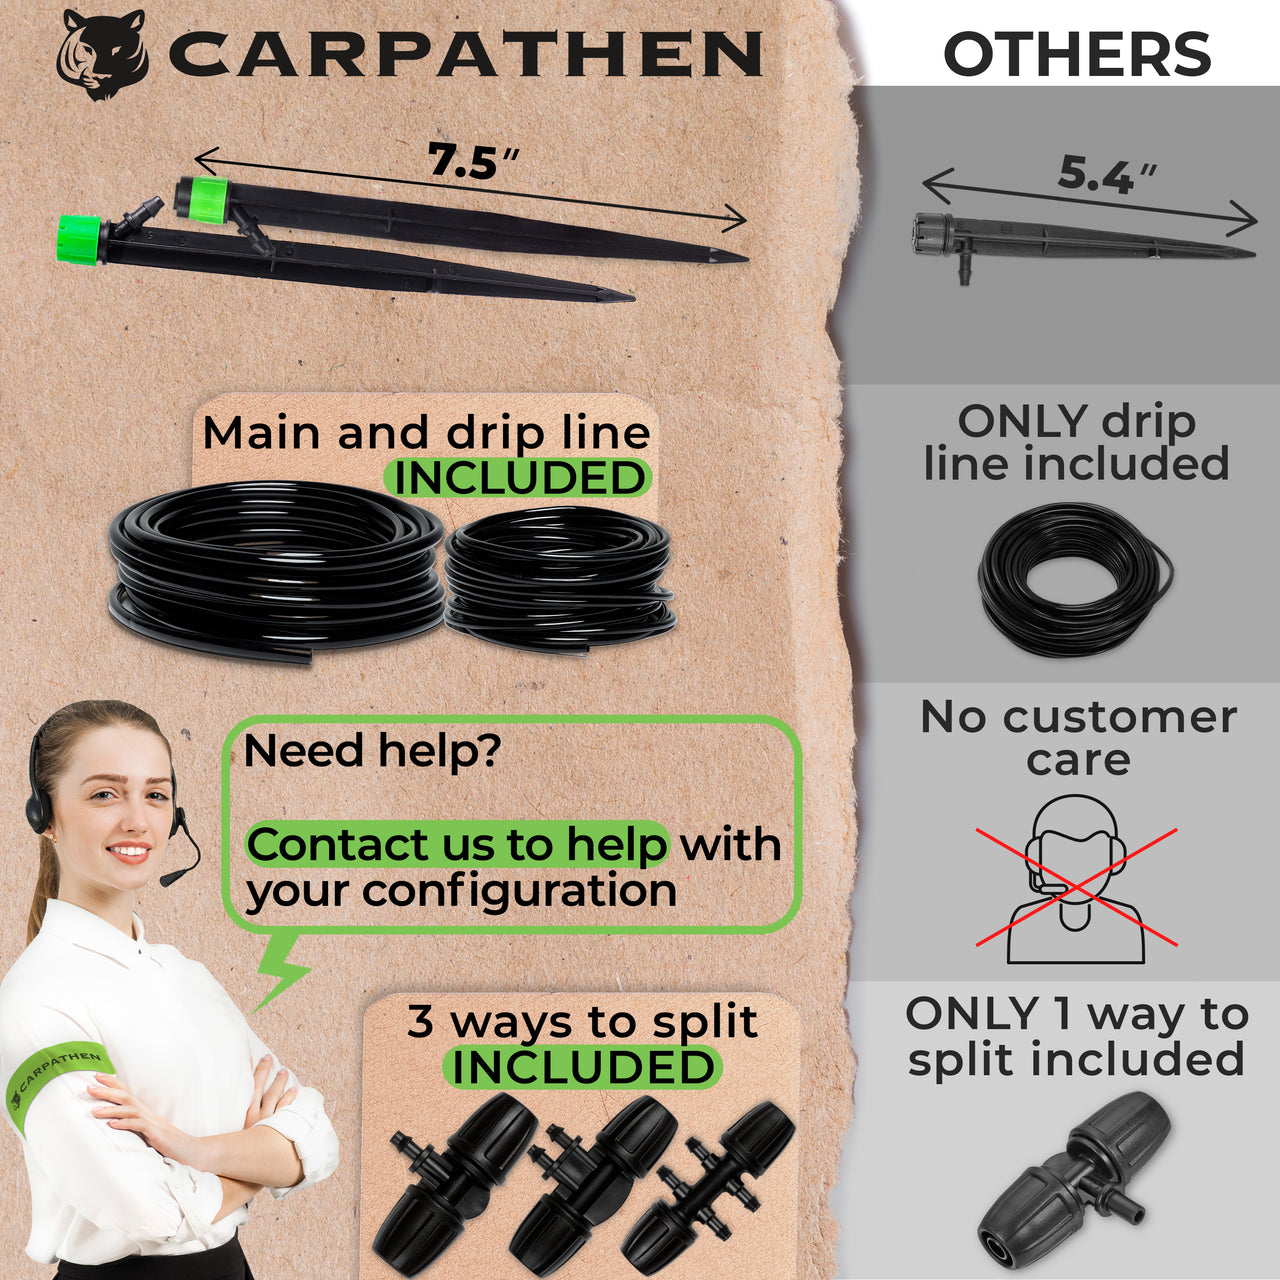
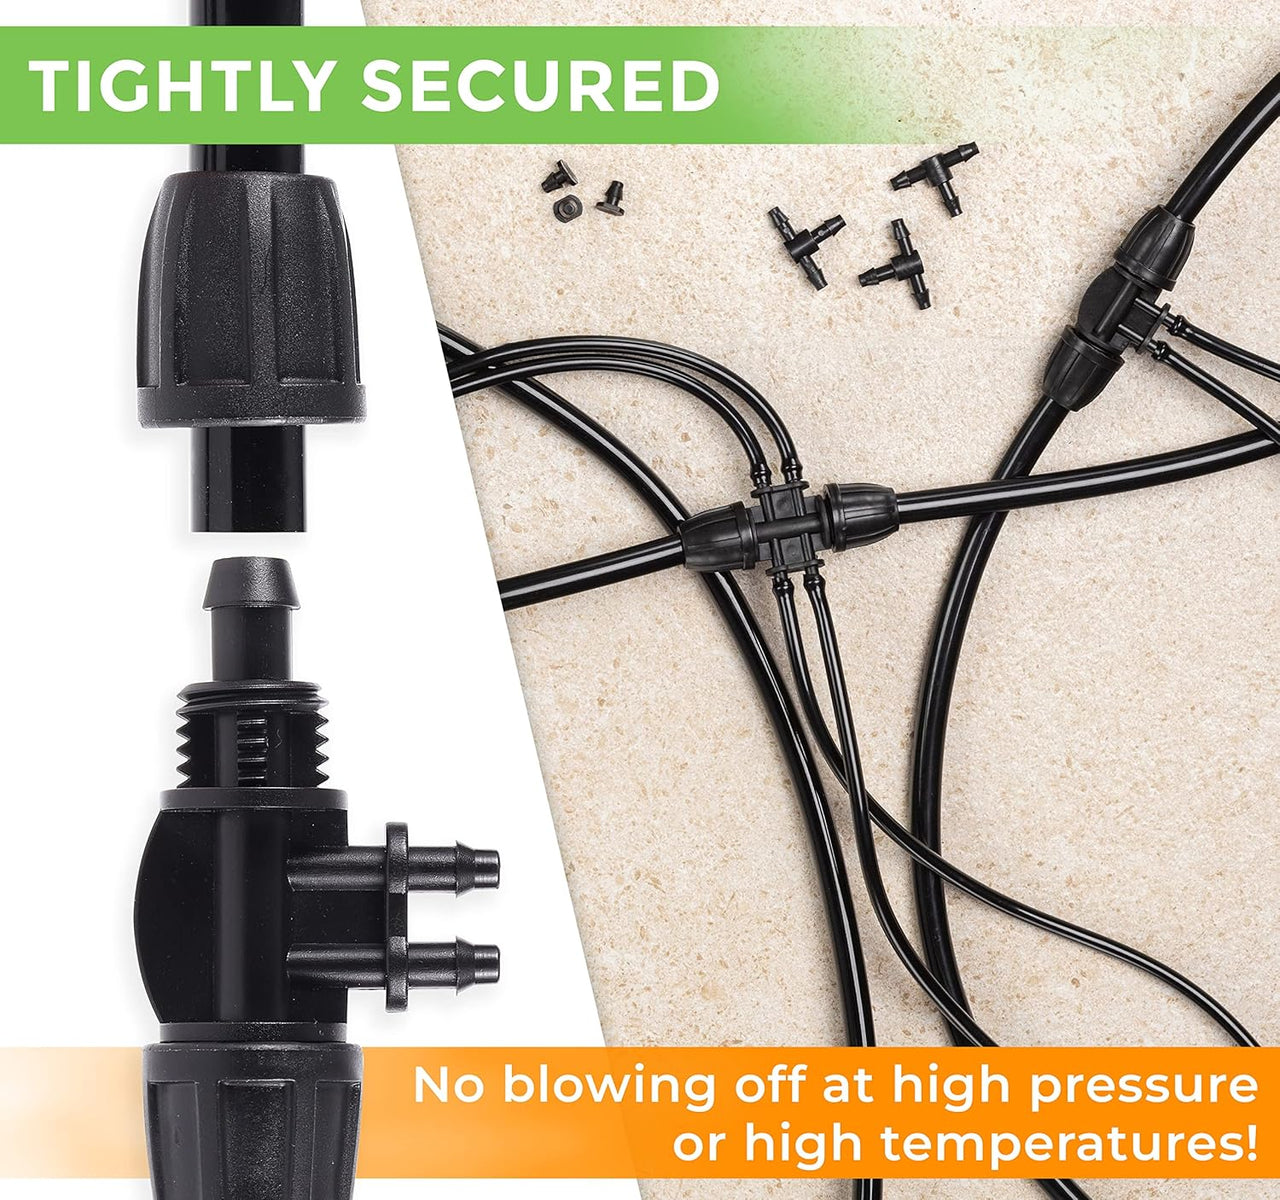
The fittings style influences both upfront price and the time you’ll invest in setup or seasonal changes. Carpathen offers both options so gardeners can pick the style that matches the way they like to work.
| Feature | Barbed System | Push-to-Connect System |
|---|---|---|
| Relative cost | Typically more budget-friendly per fitting | Generally higher per fitting, but faster to reconfigure |
| Connection method | Tubing fits over barbs | Tubing slides into a collet |
| Setup speed | Moderate; more manual effort | Fast; tool-free and modular |
| Best for | Permanent, set-and-forget layouts | Seasonal changes, quick expansions, experiments |
Bottom line: Barbed systems tend to minimise the upfront hardware cost. Push-to-connect systems can reduce the “time cost” and small re-buy expenses across seasons because it’s so easy to unplug, move, and reuse components.
Tubing Length & Layout: Your Biggest Multiplier

Tubing is one of the main cost drivers in any system, simply because you need enough of it to reach every bed, border, and planter. The more footage you run, the more fittings and emitters you’ll use as well.
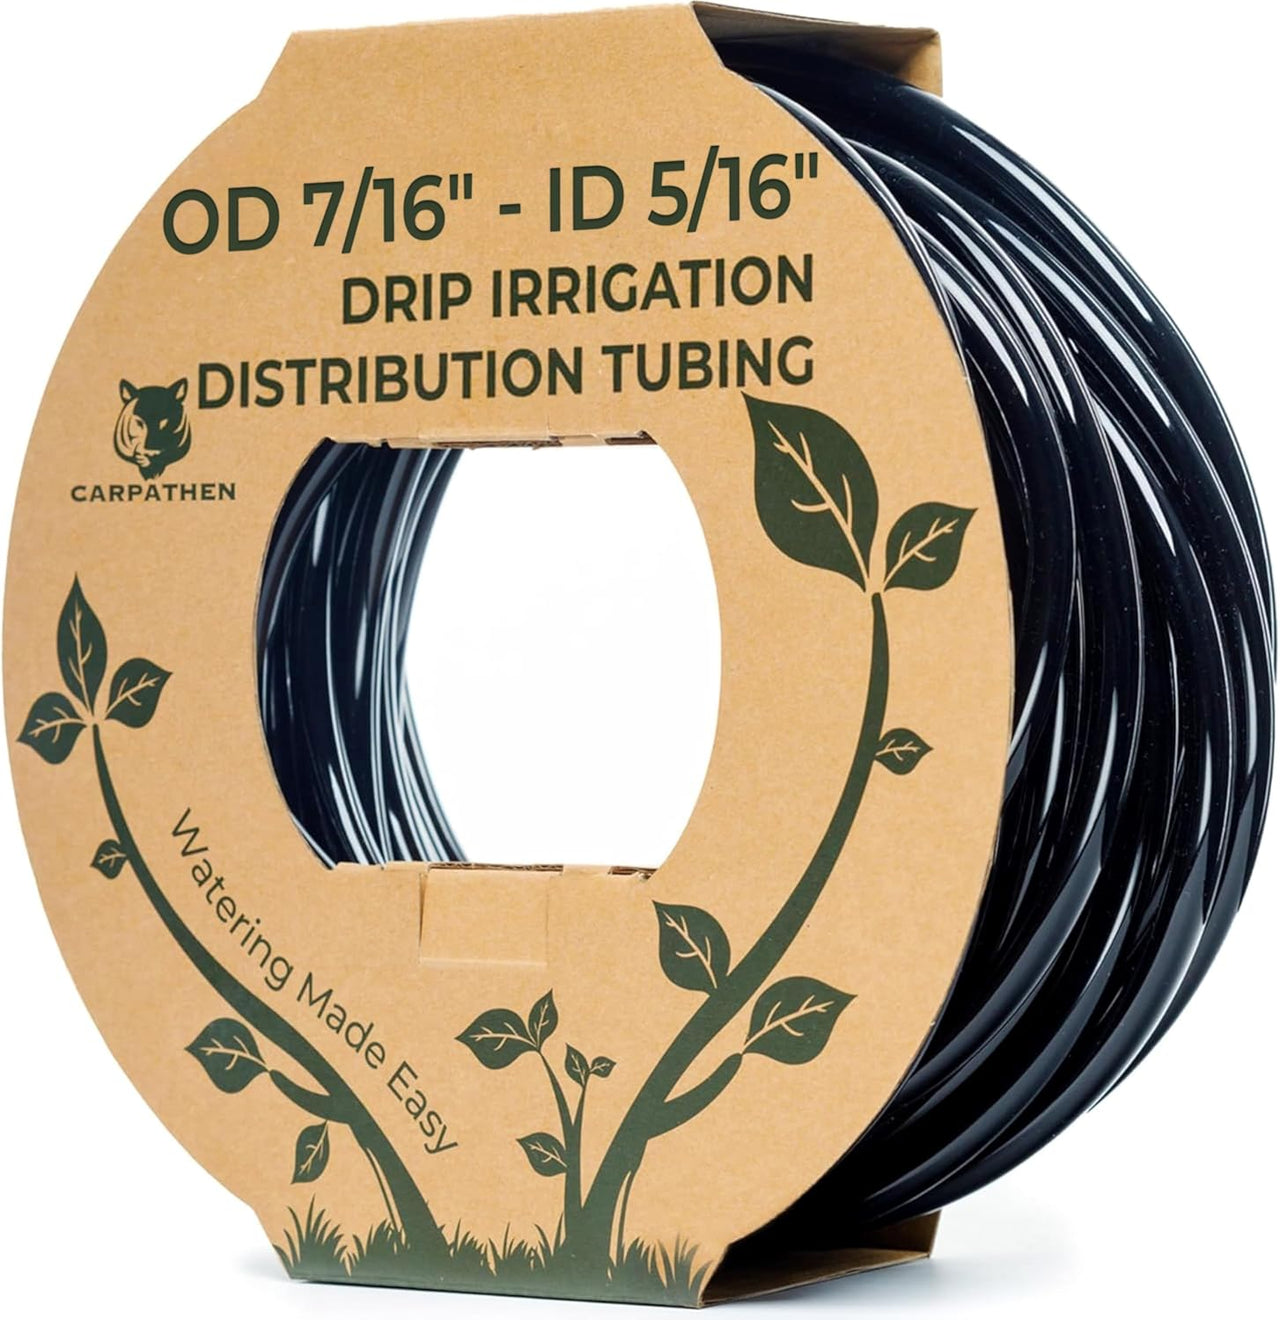
Buying a dedicated spool of mainline tubing instead of small refill packs usually brings the cost per foot down and gives you flexibility for future expansions or layout tweaks.
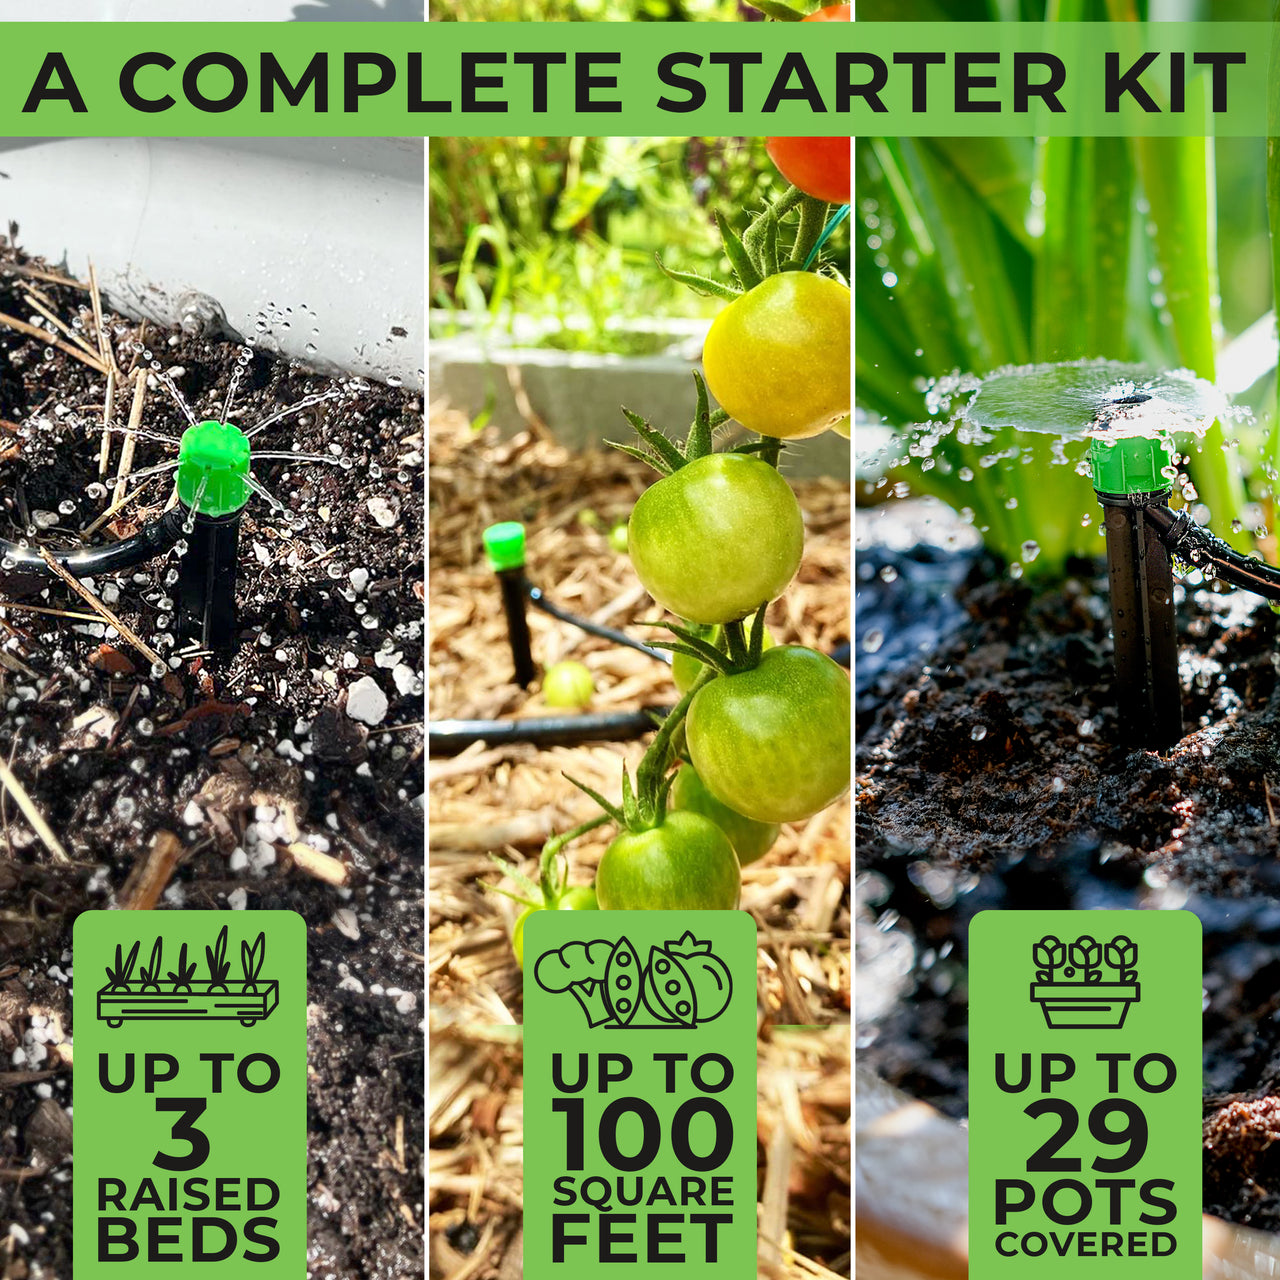
| Garden Size | Typical Tubing Needed |
|---|---|
| 1–2 raised beds | Roughly 50–100 ft total |
| 3–4 beds / small yard | Often 150–200 ft |
| 6–8 beds / long borders | Commonly 300–400 ft |
Planning your layout on paper before you buy—marking the mainline route, branches, and emitters—helps you avoid overbuying, while still leaving a small buffer for mistakes and future changes.
Emitters & Watering Style: What Affects Price
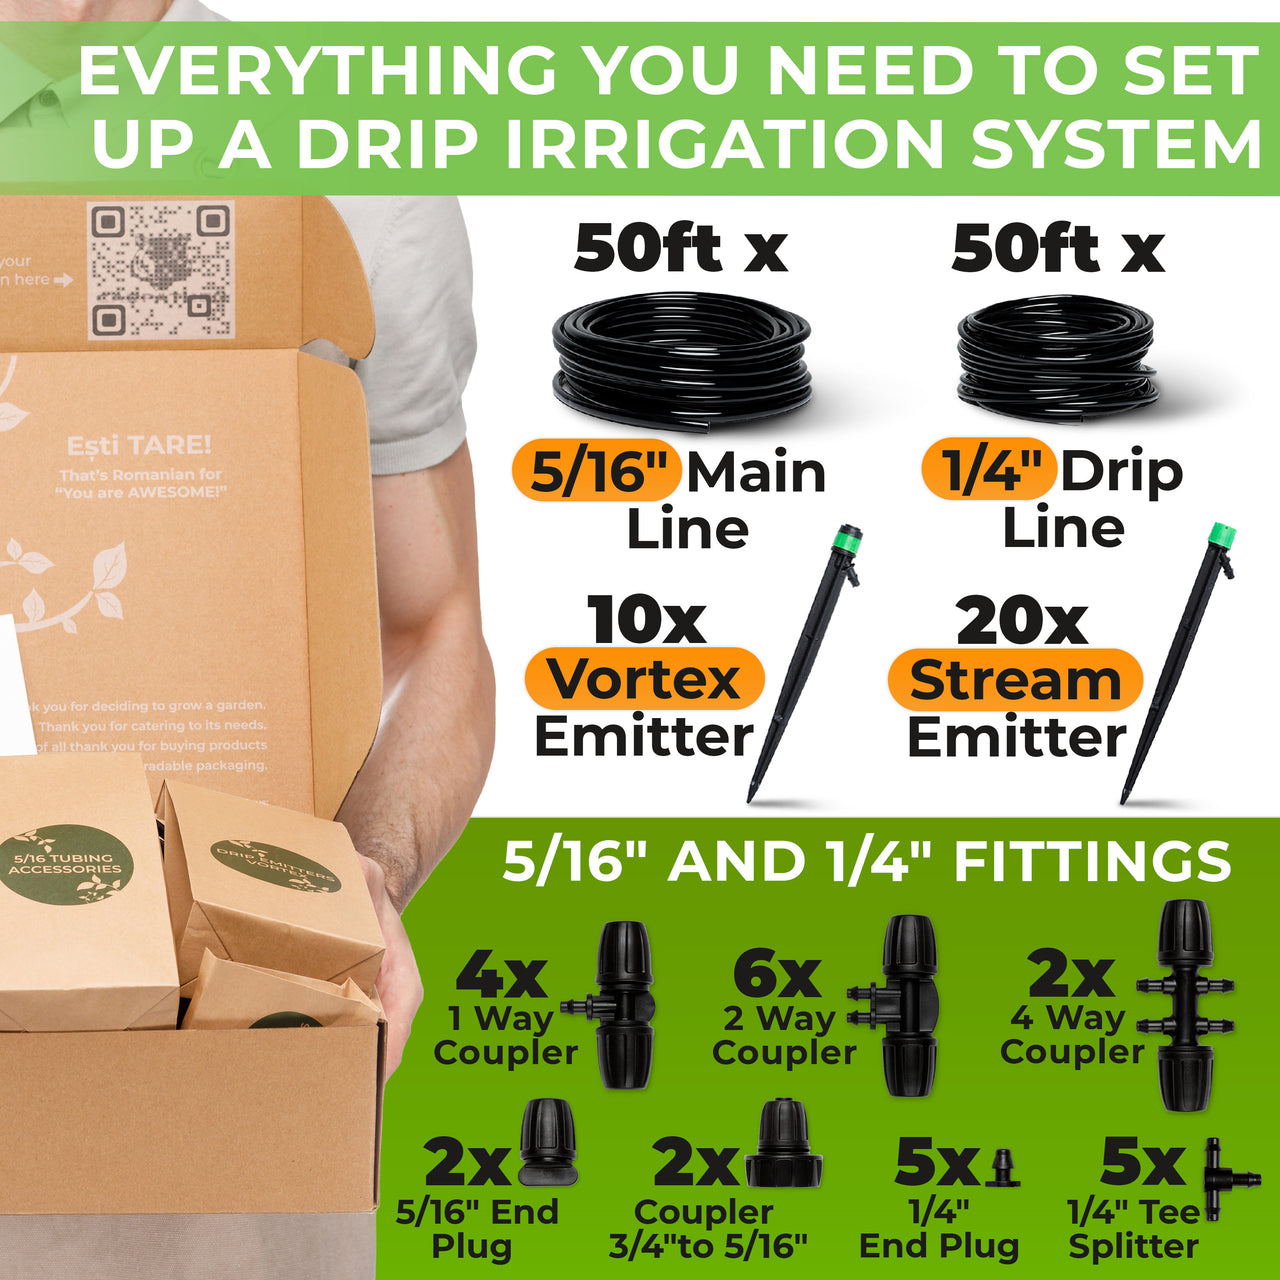
- Fixed-flow vortex emitters (20–40 GPH): Most cost-effective and durable for general beds and rows where plants have similar water needs.
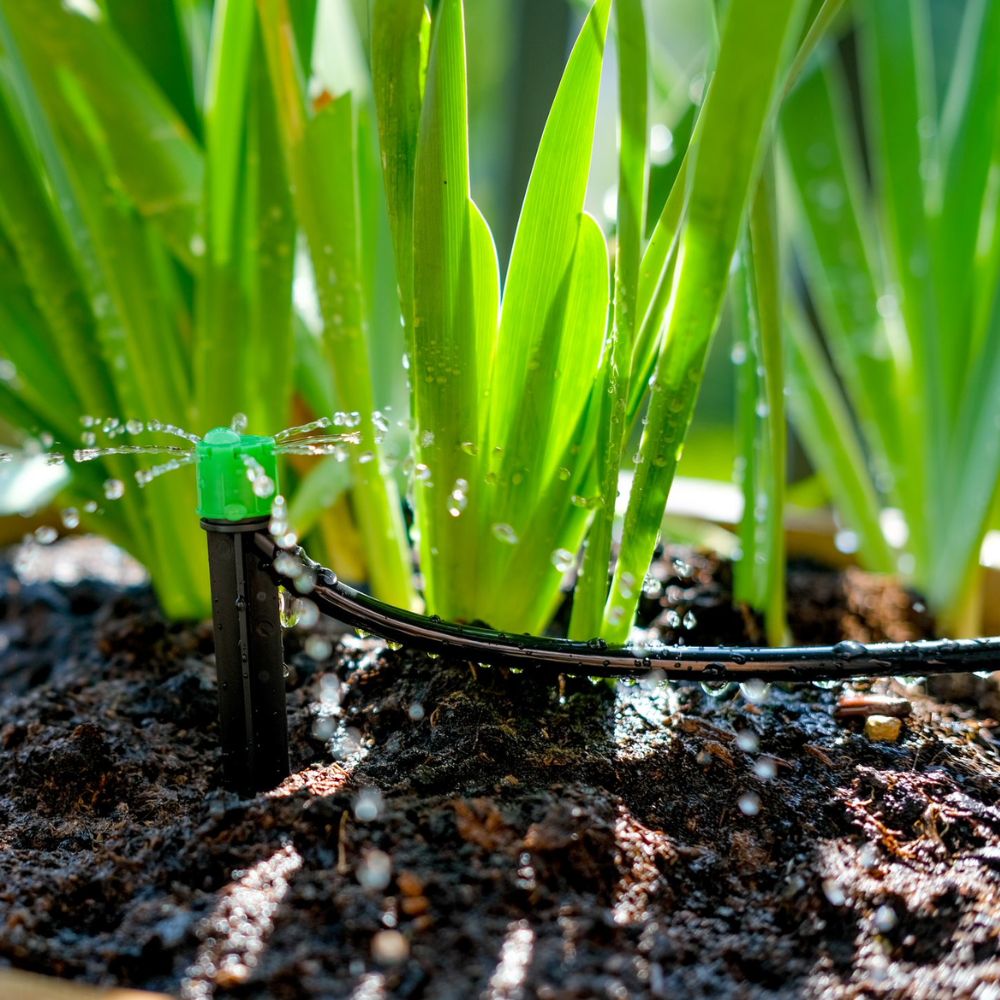
- Adjustable spray/stream emitters: Slightly pricier per piece, but allow you to fine-tune water around shrubs, perennials, and containers that don’t like the same runtime as everything else.
- Inline dripline with built-in emitters: Offers a very clean look and uniform output along rows, usually at a modest premium compared to separate staked emitters.
Accessories That Add Cost—but Save the System
Some components aren’t as “visible” on the product page as tubing or emitters, but they strongly influence how long a system lasts and how often you have to repair or replace parts.
| Component | Purpose | Why It Matters |
|---|---|---|
| Filter | Traps debris and sediment from the water supply. | Prevents emitter clogs and protects downstream parts like regulators and valves. |
| Pressure regulator | Keeps pressure within the ideal drip range (often around 20–45 PSI). | Reduces the risk of blowouts, uneven flow and premature wear. |
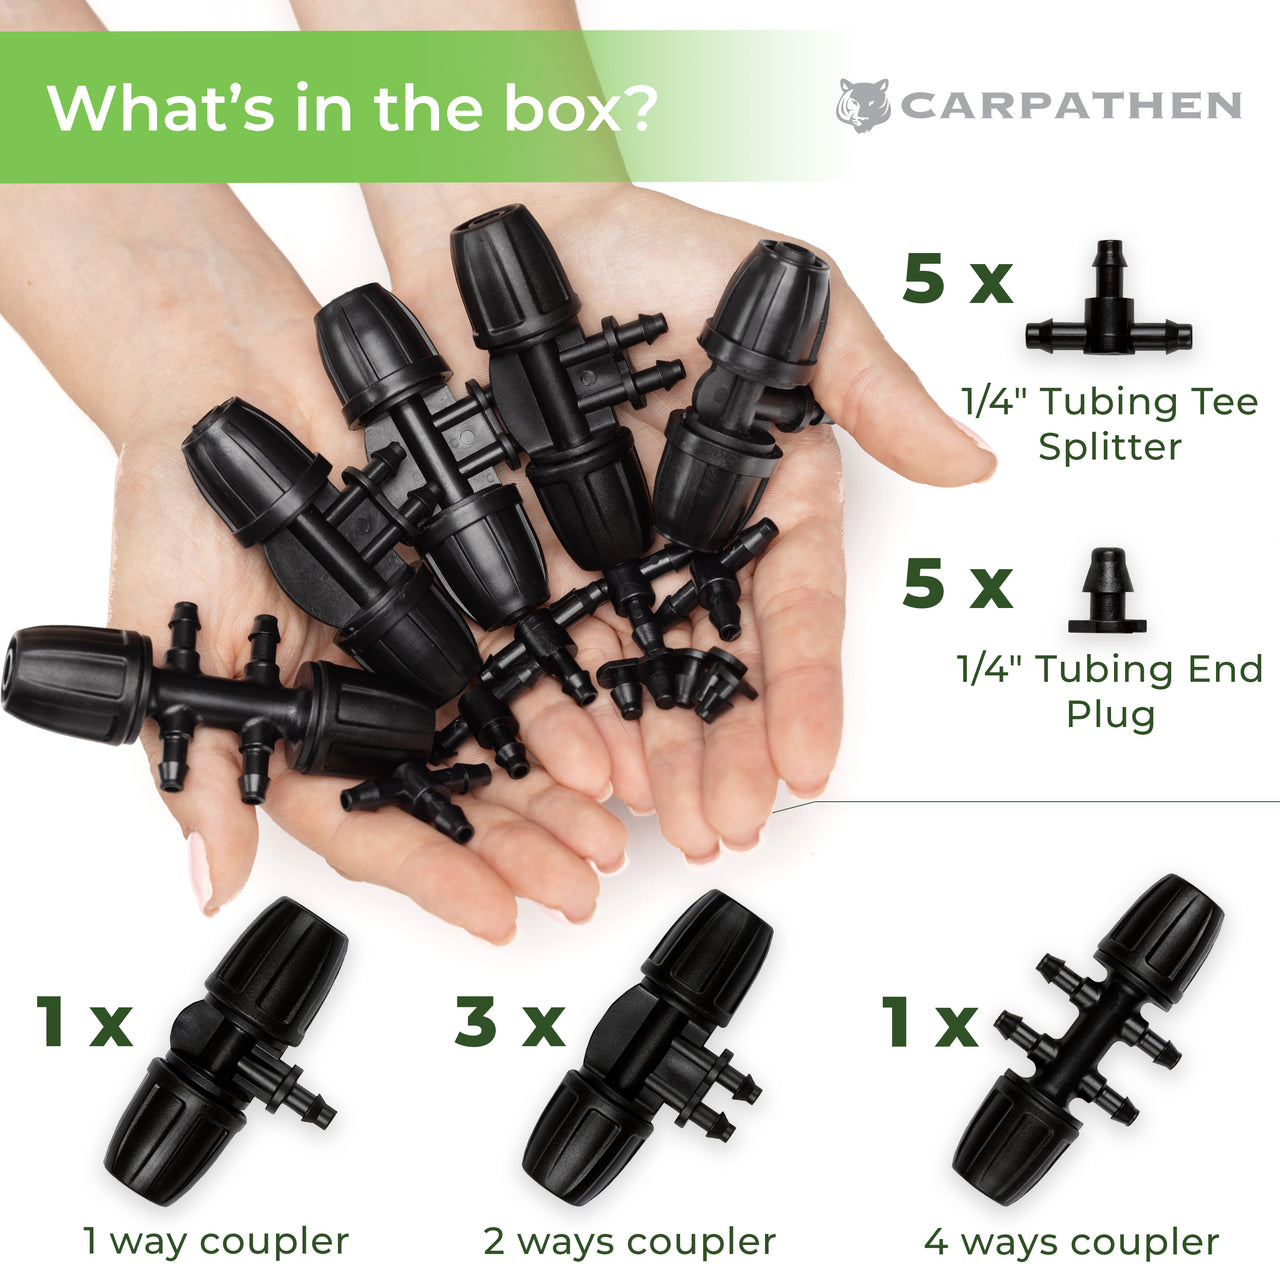
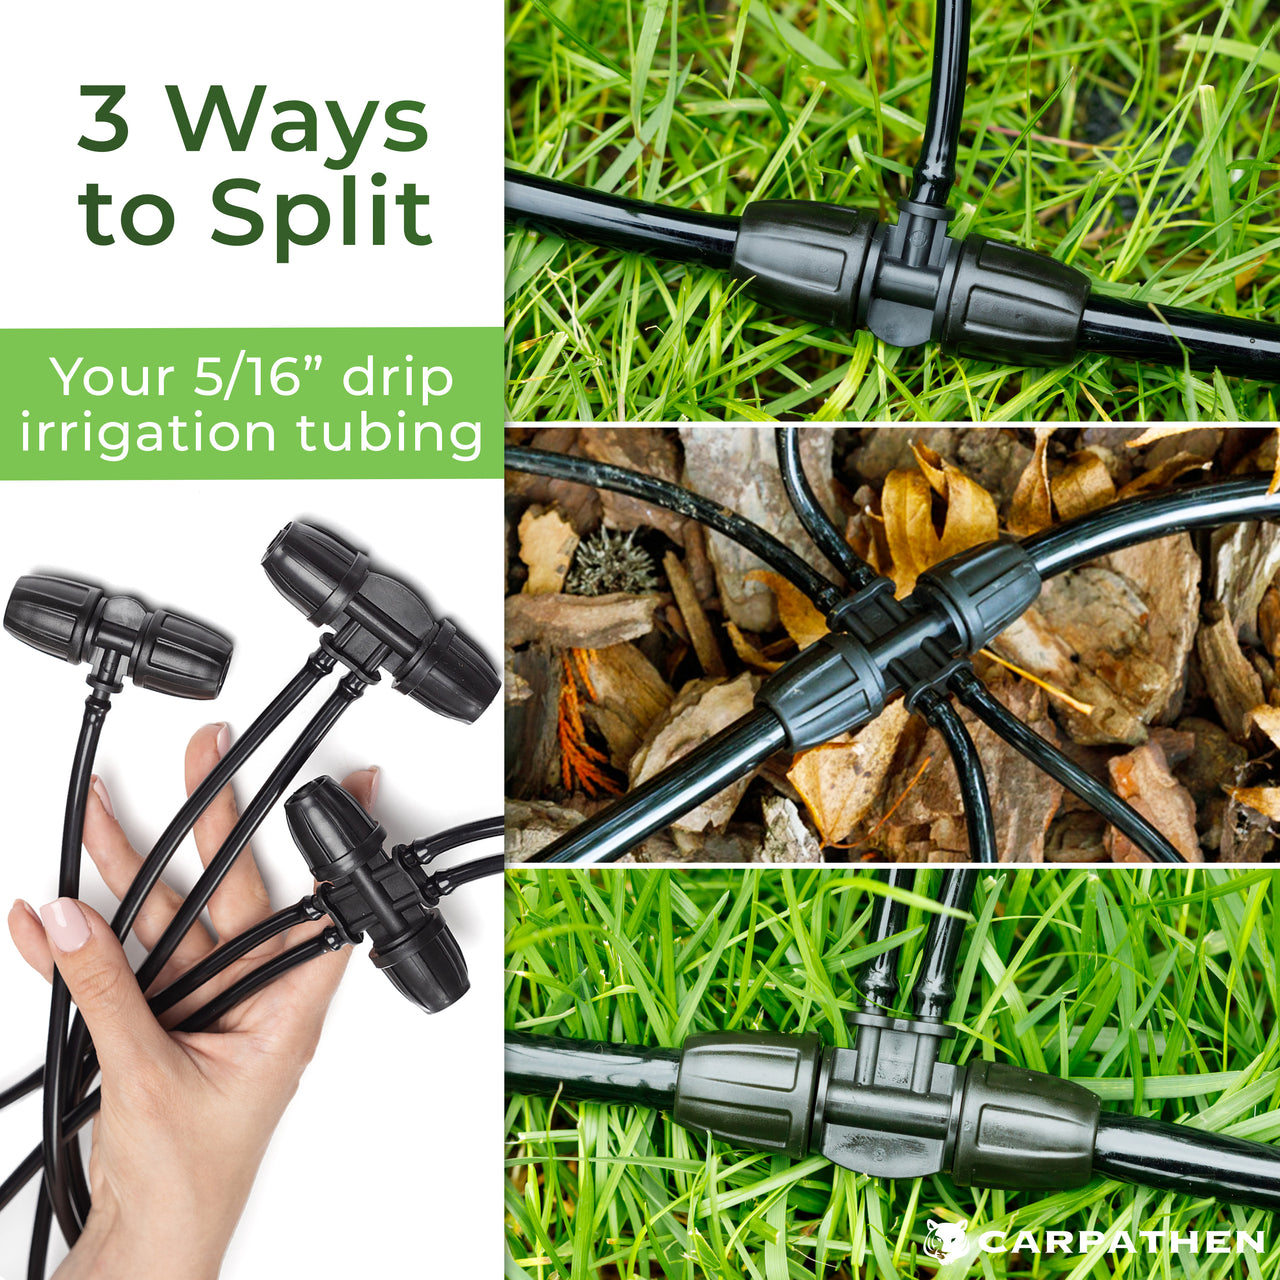
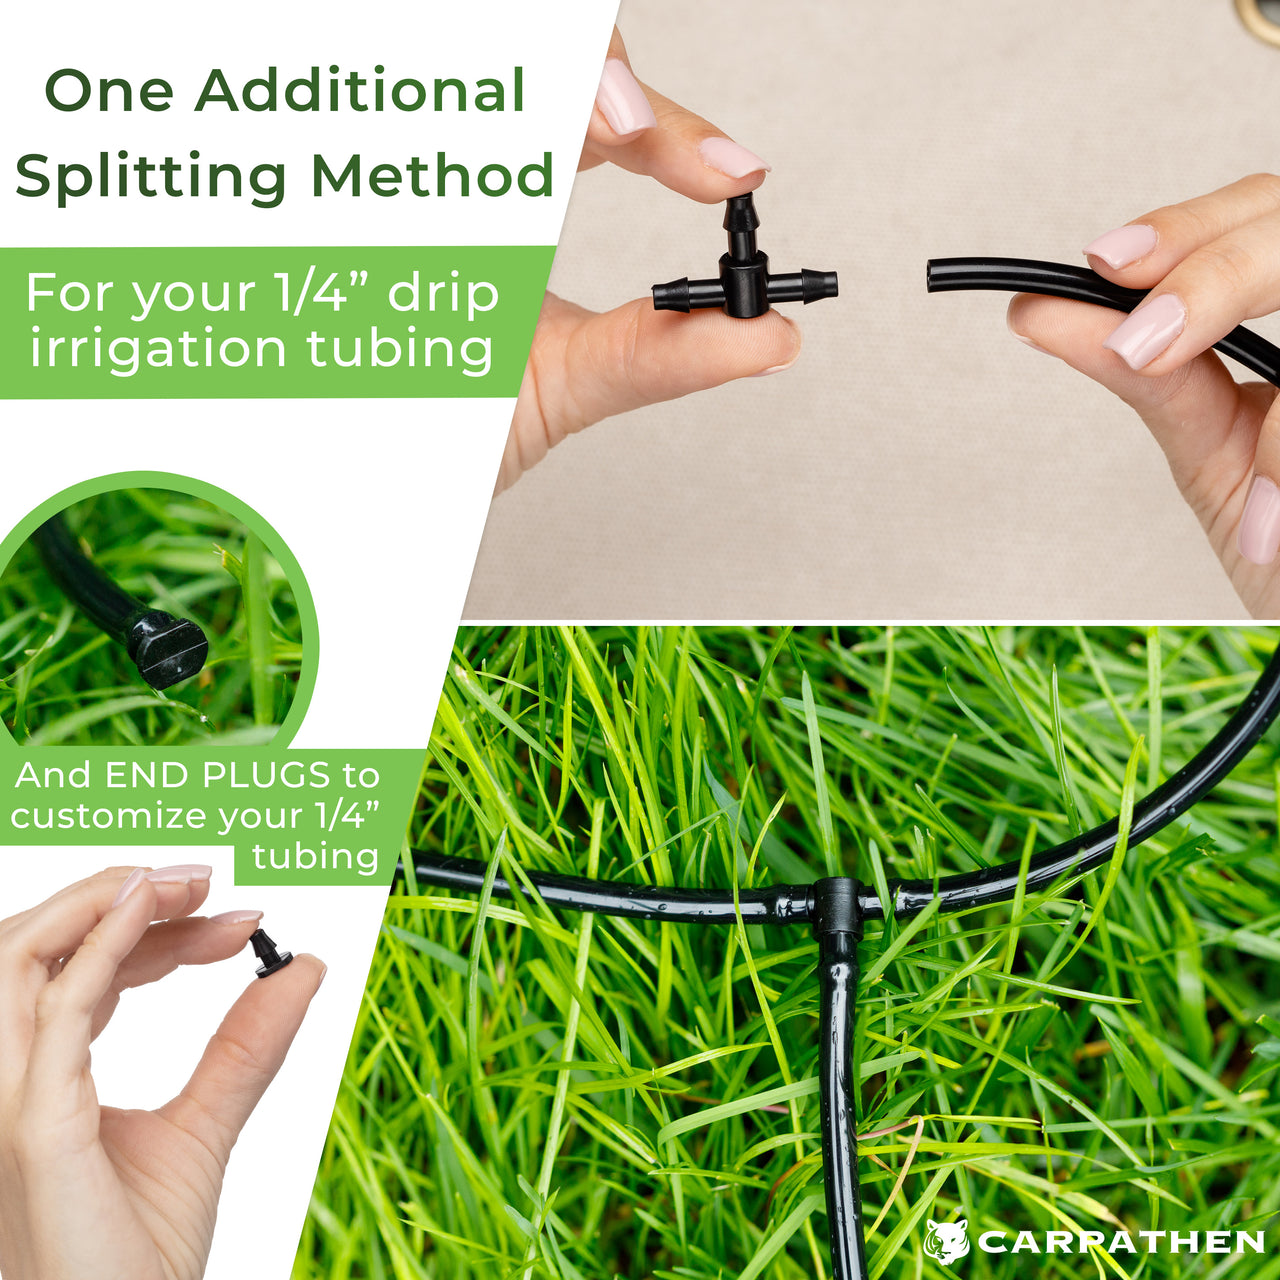
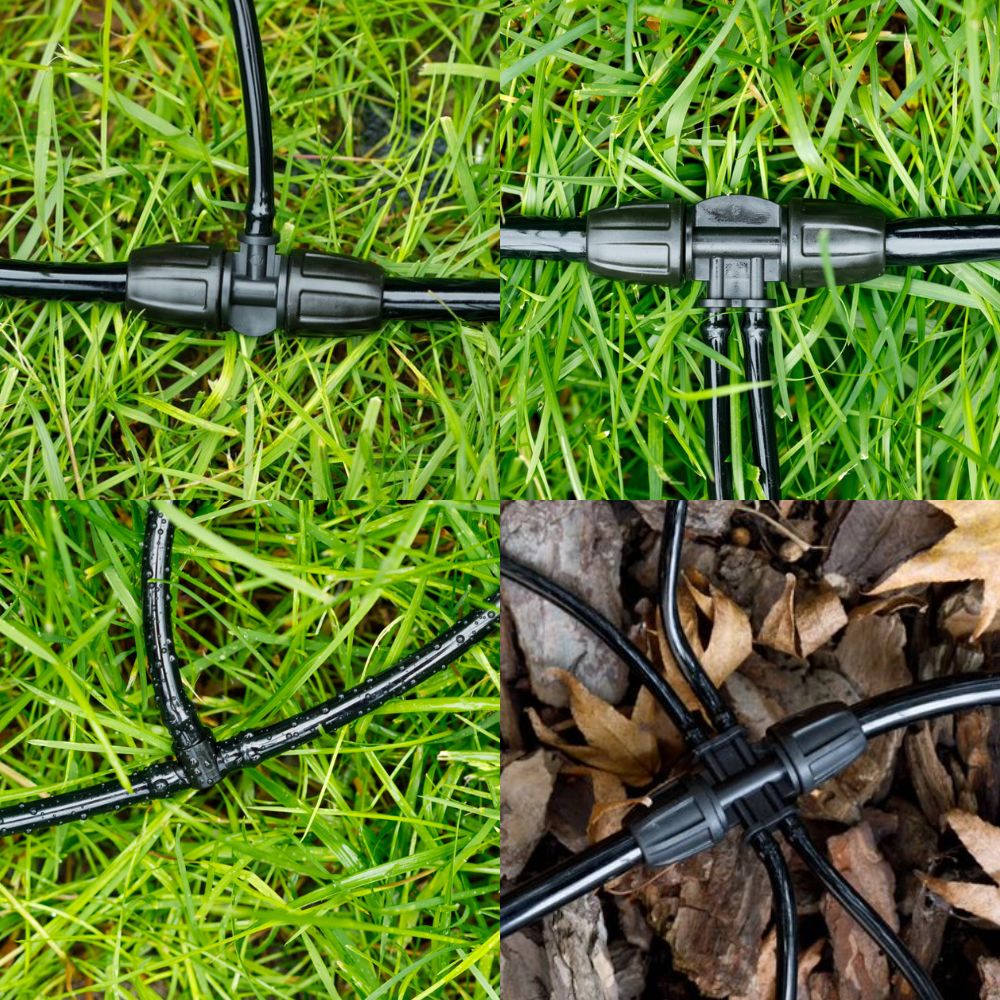
| End plugs & tees | Close and split lines, allow flushing. | Essential for layout flexibility and easy maintenance. |
| Stakes/holders | Secure emitters and tubing. | Keep lines in place so you don’t have to constantly re-adjust your setup. |
These parts add a small amount to the upfront price but can dramatically extend system lifespan and reduce replacement costs. A kit that includes proper protection almost always ends up cheaper over several seasons than a bare-bones set that needs constant fixes.
Installation: DIY vs. Pro
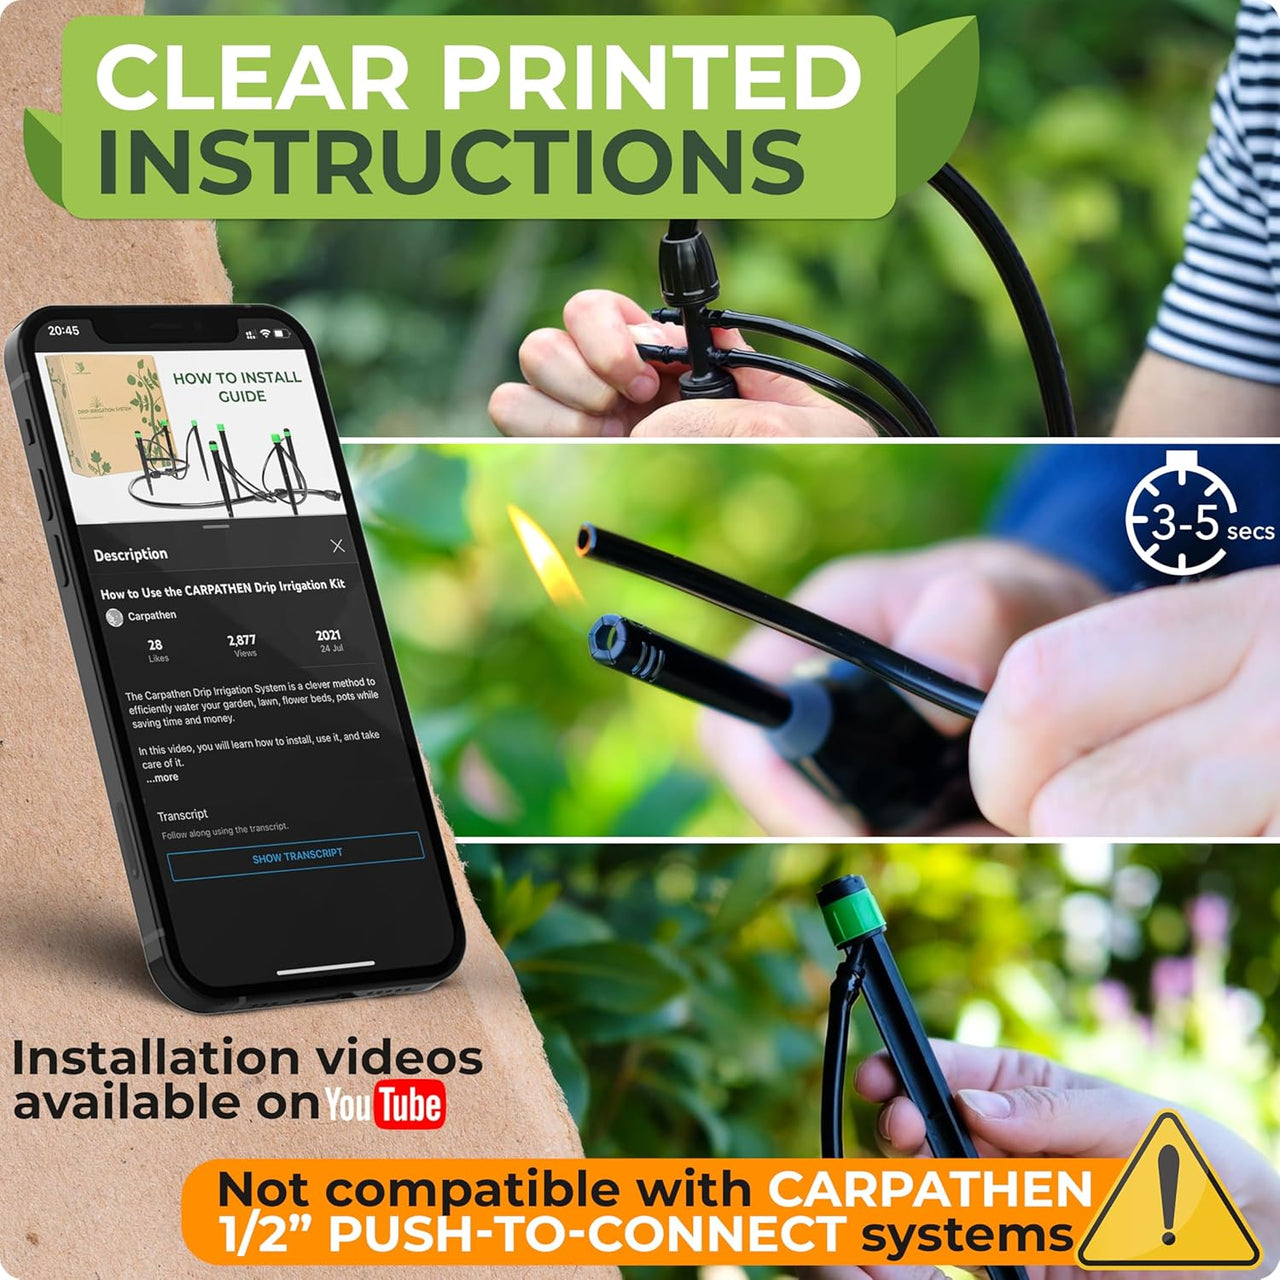
- DIY: Most home gardeners can install a kit in an afternoon with basic tools and a clear diagram or video. There’s no direct labor charge, and you’ll understand your system well enough to modify it later.
- Pro install: Hiring an installer adds a separate labor cost that can easily exceed the price of the kit itself, especially for large or complex yards with multiple zones.
If your layout is relatively simple—raised beds, a few borders, maybe some planters—DIY is usually the best value. Consider professional help if you’re tying into in-ground systems, installing manifolds and valve boxes, or managing large landscape projects.
Long-Term Savings: How Drip Pays Back
A drip irrigation kit can cost more than a basic sprinkler or spray nozzle on day one, but it often pays for itself over time in three ways:
- Water savings: Drip delivers water directly to the root zone, with very little evaporation or overspray. Over a full season, many households see a noticeable reduction in their outdoor water use.
- Healthier plants: Consistent moisture reduces stress, disease, and losses. Replacing a few shrubs or a season’s worth of failed veggie starts can easily outweigh the cost difference between a basic and a well-designed kit.
- Lower maintenance: With correct pressure and filtration, you avoid frequent repairs, emergency hardware store runs, and early system replacements.
When you look at drip as a multi-year investment rather than a one-season experiment, the value of good components becomes clear very quickly.
Spend Less: Smart Ways to Buy
- Size it right: Choose a kit that fits your current beds and planters, then expand with extra tubing and emitters as your garden grows. Overbuying “just in case” rarely pays off.
- Compare specs, not slogans: Tubing dimensions, wall thickness, PSI range, UV resistance, and included protection (filter + regulator) matter far more than marketing phrases.
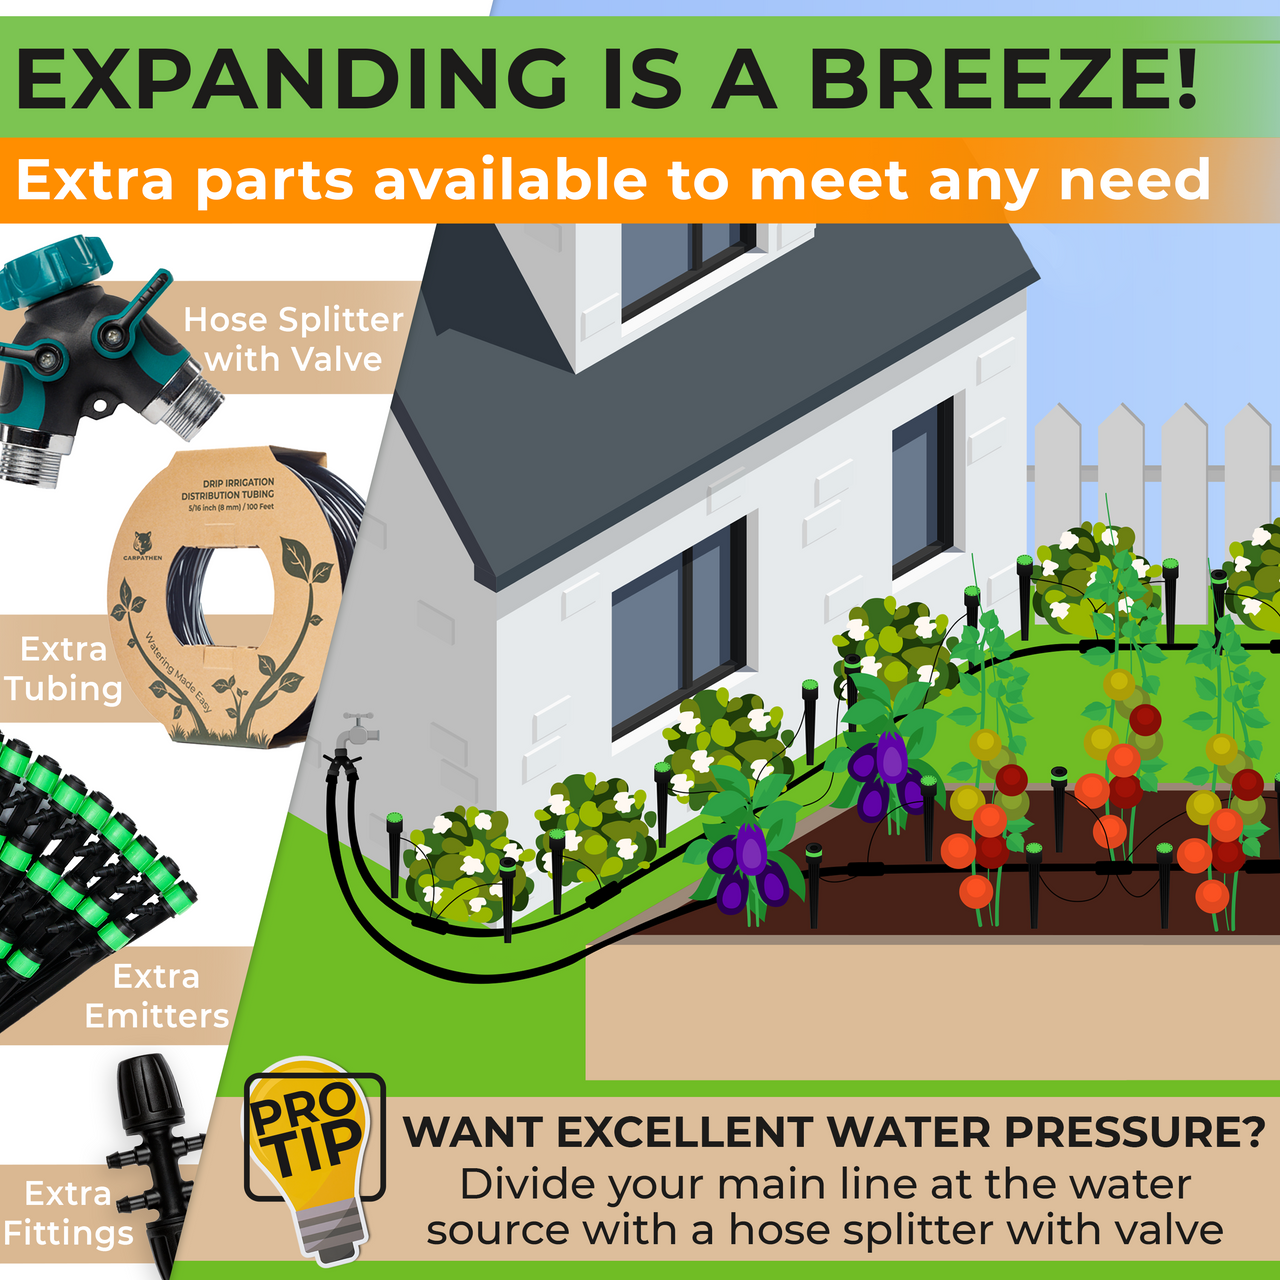
- Split your faucet: A garden hose splitter creates multiple watering zones from a single outdoor tap without requiring extra timers.
- Winterize properly: Draining lines and storing filters/regulators indoors prevents freeze damage—one of the most common and avoidable causes of mid-season failure.
- Shop off-season: Late fall and winter often bring better availability and occasional discounts on complete kits and accessories.
3-Year Value Snapshot
Instead of focusing on a single price tag, it helps to think in terms of a multi-year snapshot:
- Year 1: You buy the main kit and get your layout dialed in.
- Years 2–3: You might add a few emitters or extra tubing as your garden evolves, but the core hardware remains in place.
- Every year: You benefit from reduced water waste, fewer plant losses, and a lot less time dragging hoses or repositioning sprinklers.
When viewed over three seasons, a thoughtfully chosen kit with good protection and quality tubing usually ends up costing less than a cycle of cheap systems that fail early or never quite deliver the results you expect.
Quick Context: Where Carpathen Fits

Drip systems from established brands tend to cluster within a similar price band. The real differences show up in how much tubing and how many emitters you get, whether filters and regulators are included, and how easy it is to expand the system later.
Carpathen systems are designed to sit in the value–performance sweet spot: complete kits with thoughtful component mixes, clear instructions, and accessories that support multi-season use—not just one year of trial and error. That makes them a strong option for gardeners who want reliable results without overspending on complexity they don’t need.
Frequently Asked Questions
How do I know if a kit is fairly priced?
Look at what’s included rather than just the headline number. A fairly priced kit usually comes with enough tubing for a realistic layout, a solid set of emitters, and crucial protection at the faucet (filter + pressure regulator). If those are missing, factor in the cost of buying them separately.
Is push-to-connect really worth it if I’m watching my budget?
It can be. Push-to-connect fittings cost a bit more per piece but save time every time you adjust or expand your layout. If you expect to make regular seasonal changes or experiment with different bed setups, the convenience and reusability often justify the higher hardware cost.
How much tubing should I buy up front?
Measure your beds and the routes you’ll take along edges and paths, then add a small buffer for routing and mistakes. For most small raised-bed gardens, that ends up being more than a single short coil—buying a spool is often more economical per foot and leaves you room for future expansion.
Do I really need a pressure regulator and filter?
Yes, in most setups. They’re small components that prevent two of the most expensive problems: blowouts from high pressure and clogged emitters from debris. Including them from the start is one of the simplest ways to protect your investment.
Will drip actually lower my water bill?
In many gardens, yes. Because drip delivers water exactly where plants need it, you waste far less on evaporation and runoff. Over a full growing season that can translate into noticeably lower outdoor water use, especially compared to overhead sprinklers running on fixed schedules.
Conclusion

The true cost of a drip irrigation system isn’t just the price printed on the box. It’s a combination of system type, tubing length, emitter style, and the small protective pieces that keep everything running smoothly from season to season. A kit that looks slightly more expensive at checkout can easily become the better deal once you factor in longevity, plant health, water savings, and your own time.
Whether you choose Carpathen or another major brand, the smartest way to shop is to compare specifications, layout fit, and included protection—not just discounts or strikethrough prices. Buy for the way you actually garden today, leave room to grow tomorrow, and take a few minutes each year to maintain and winterize your system. Done this way, drip irrigation becomes one of the most cost-effective upgrades you can make to your garden.
Next step: sketch your beds, estimate how much tubing you’ll really need, and compare kits based on components, not just headline numbers. That’s where real value—and long-term savings—live.