As the gardening season winds down and overnight lows creep toward freezing, a simple question can make or break next spring’s start: did you winterize your drip irrigation system correctly? An hour of careful preparation now protects fittings, extends the life of tubing, prevents clogs, and saves you from chasing leaks when you reopen the system. This guide explains why winterization matters, how to time it by climate, and exactly what to do—step by step—no matter which brand or configuration you use. It is written from a manufacturer’s perspective for the general gardening public: practical, brand-neutral, and focused on durability, safety, and efficiency. You’ll also find a brief section near the end explaining how Carpathen components fit into this process if they happen to be part of your setup.
Table of Contents
- Why Winterization Matters
- Understanding Your System Before You Start
- The Physics of Freezing in Drip Systems
- When to Winterize: Timing by Climate Zone
- Step-by-Step Winterization Procedure
- Tools and Materials You’ll Need
- Draining Methods: Gravity, Air, and Manual Techniques
- Protecting Timers, Valves, and Electronics
- Off-Season Maintenance and Planning
- Troubleshooting After Winter
- Sustainable, Eco-Smart Winterization
- Regional Case Studies and Real-World Scenarios
- Integrating Carpathen Systems
- Frequently Asked Questions
- Conclusion
Why Winterization Matters
Drip irrigation relies on narrow water pathways, pressure-balanced components, and sealing interfaces (barbs, O-rings, collets). When water remains in those spaces and temperatures drop below 32°F (0°C), it expands as it freezes. That expansion stresses tubing, connectors, and emitter bodies. In practice, even a small ice plug can create localized pressure that causes micro-cracks, loosens fittings, or splits tubing—issues you may not detect until you pressurize in spring.
Winterization prevents this by removing or venting water, relieving pressure, and storing sensitive components where freeze–thaw cycles can’t damage them. The benefits also include filter hygiene (less mineral scale and algae), fewer spring clogs, faster commissioning, and more predictable performance during the first watering cycles of the new season.
Understanding Your System Before You Start
Before you disconnect anything, identify your system type and materials. This informs what to remove, what to leave, and how aggressive you should be with draining.
Common System Types
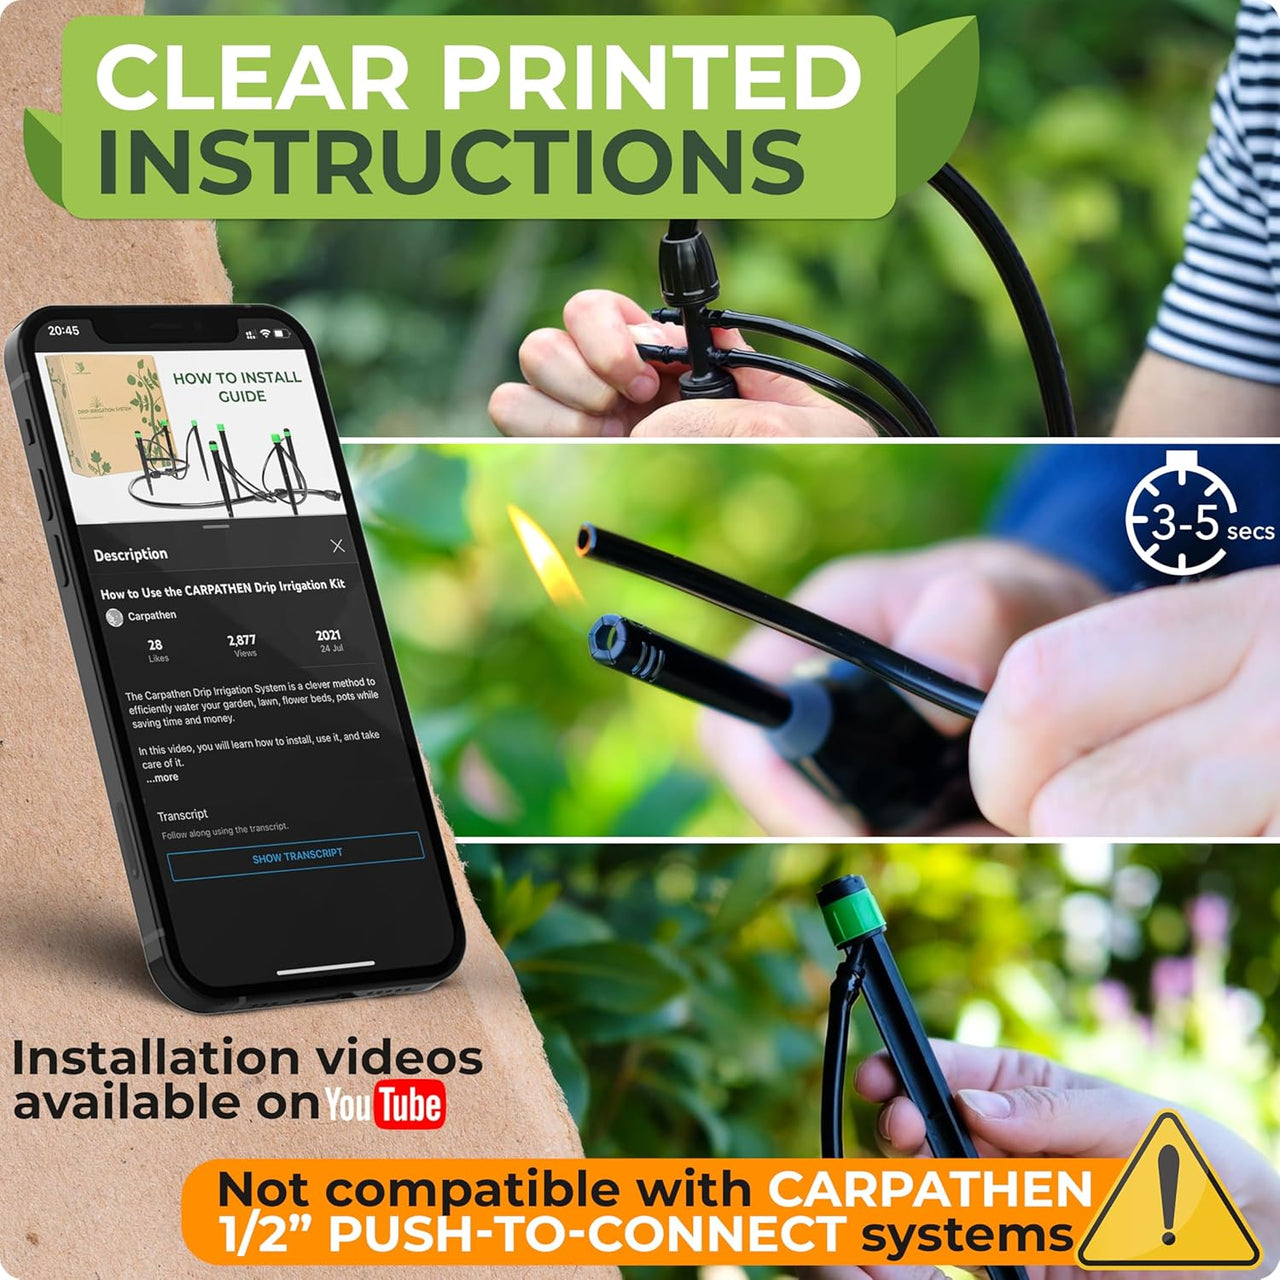
- Barbed systems: Tubing fits over barbed connectors. Reliable and widely used. In cold weather, tubing stiffens and may be harder to remove; recut ends square before spring reassembly.
- Push-to-connect (quick-connect): Tubing inserts into a collet-style fitting. Very fast seasonal disassembly and reassembly, helpful for modular layouts.
- In-line (dripline) tubing: Emitters are integrated in the tube wall. Must be flushed and drained thoroughly; low points can trap water.
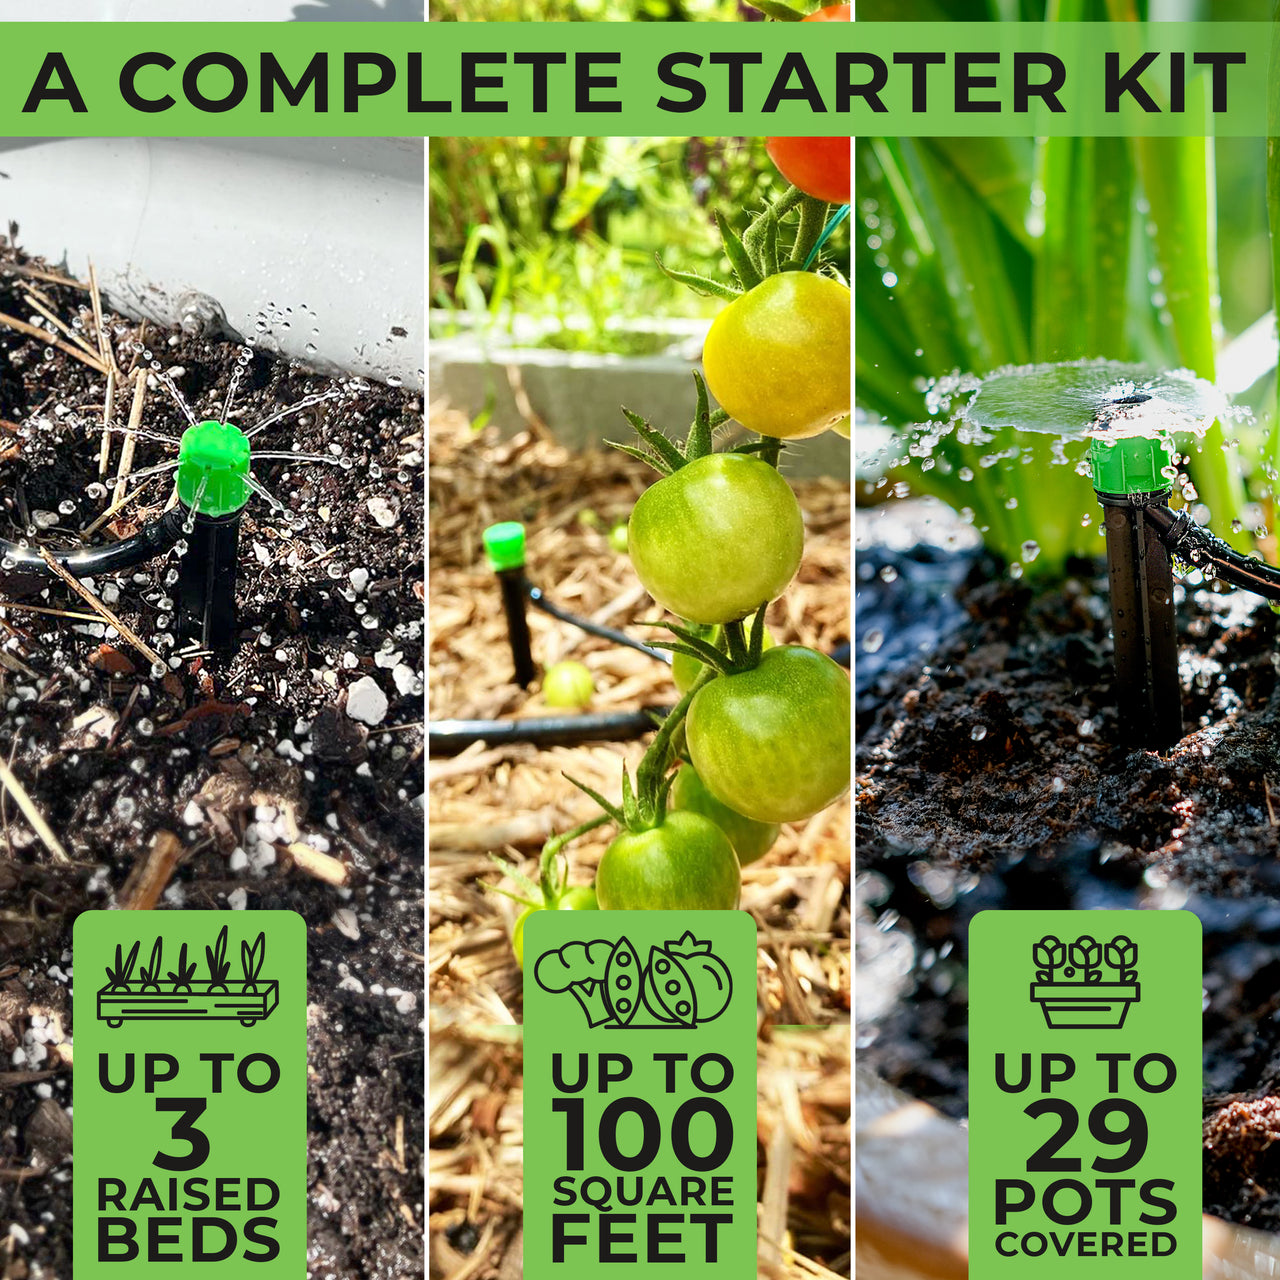
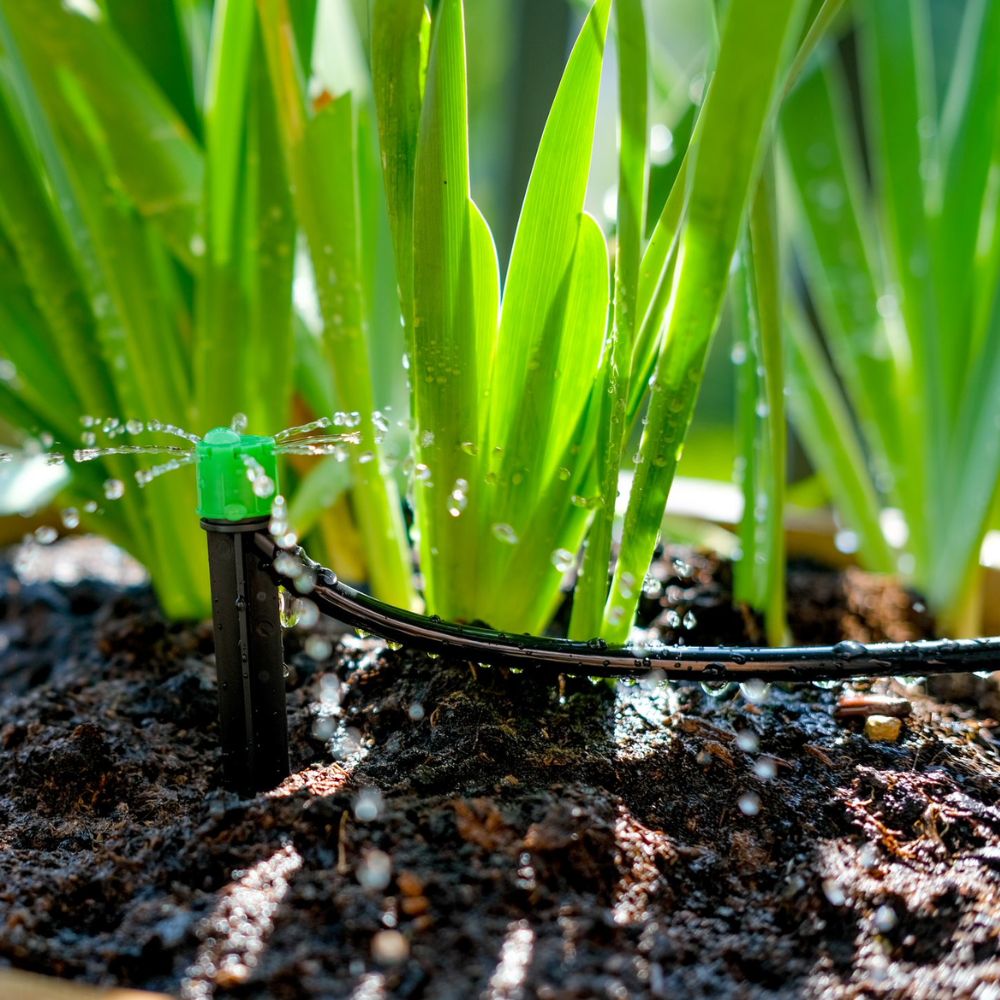
- Micro-spray and staked emitters: Above-ground stakes with adjustable caps or vortex, stream, and mist heads (as found in Carpathen kits). Most exposed to freeze; drain or store in hard-freeze regions.
- Hybrid layouts: Many home gardens combine a mainline with 1/4" branches feeding stakes, sprayers, and dripline runs. Treat each branch as a mini-system during drain-down.
Materials and Cold Response
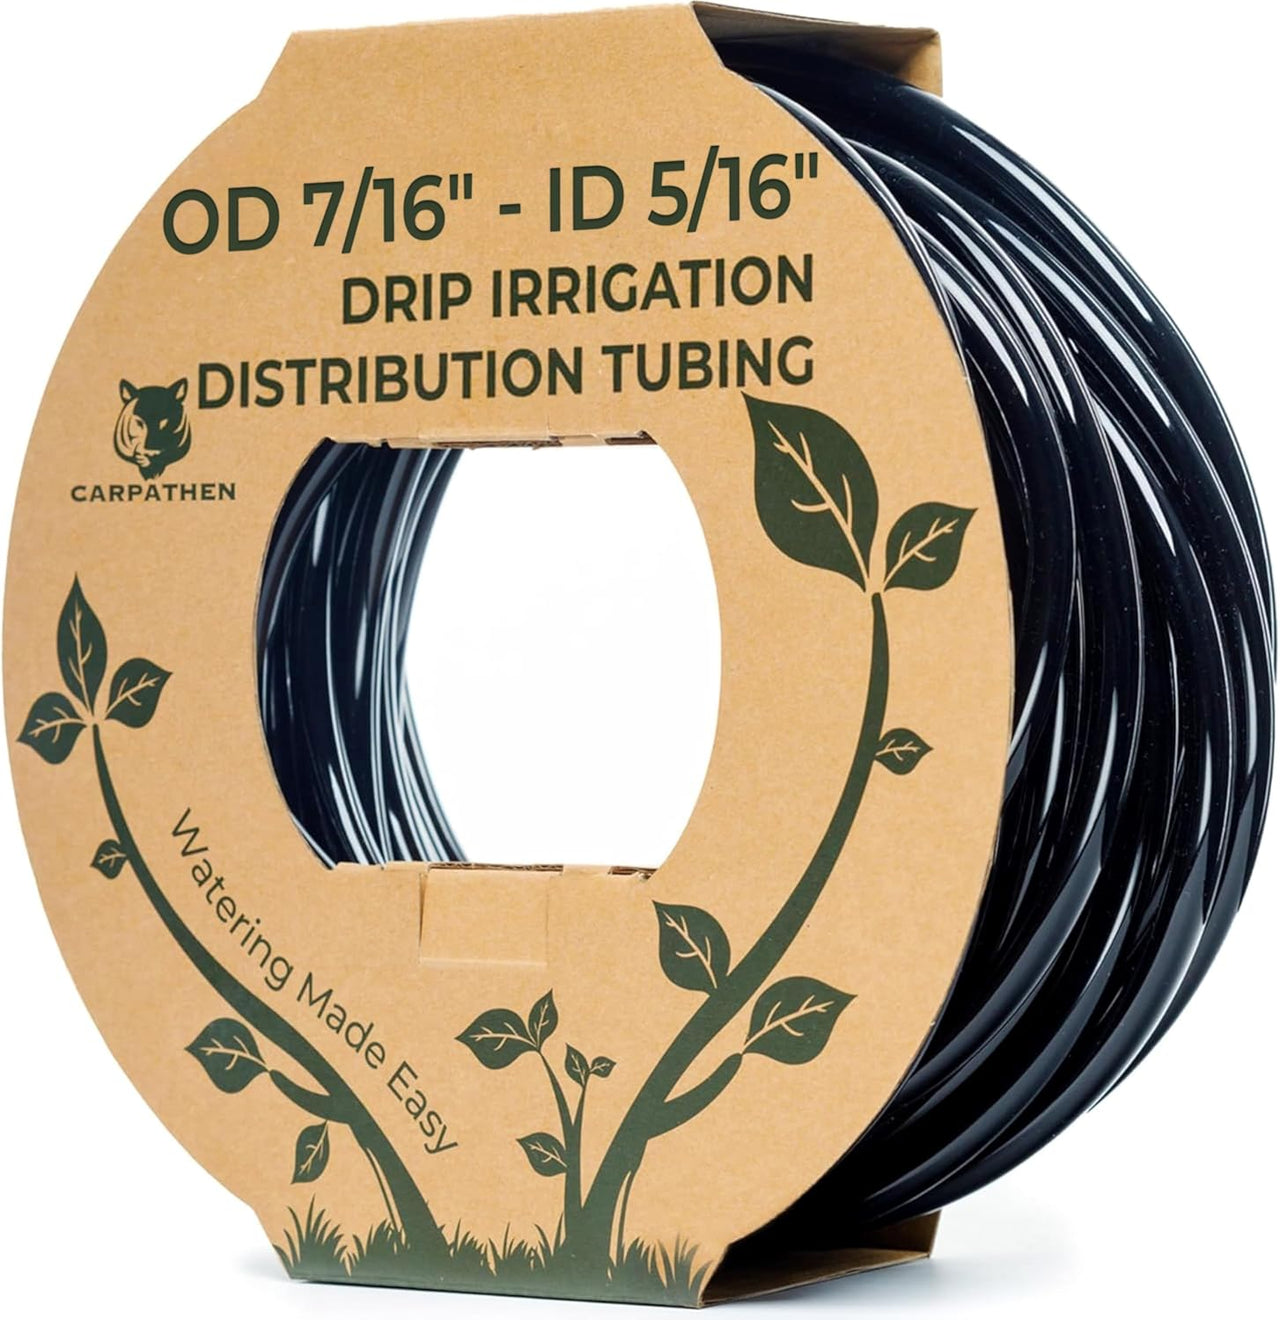
- Polyethylene (PE) tubing: Flexible and UV-resistant; can stiffen in deep cold. Tolerates modest expansion but not trapped ice against a closed end.
- Vinyl tubing: Softer but less cold-tolerant; more prone to cracking after repeated freeze–thaw cycles.
- PVC laterals/manifolds: Rigid and susceptible to cracking if water is trapped; prioritize complete drainage or a cautious air blow-out.
- Seals/O-rings (rubber or silicone): Remove and store indoors where practical to prevent drying and micro-cracking.
Map and Label Before You Drain
Photograph valves, filters, regulators, and zone splits. Note low spots and end caps. Label segments with painter’s tape or weather-proof tags. This “as-built” record saves time in spring, especially in larger gardens or shared community plots.
The Physics of Freezing in Drip Systems
Freezing damage rarely happens because a line is 100% full of water. More often, ice forms a plug at a constriction (a barb, bend, or emitter inlet). When additional water freezes, the trapped segment experiences a pressure spike. Even flexible PE has limits. Over a winter with multiple freeze–thaw cycles, small deformations become permanent. The result: a weeping pinhole, a hairline split, or a fitting that no longer seals reliably under pressure.
The practical insight is simple: remove as much water as possible, vent what remains, and store removable parts where repeated freeze–thaw cycling won’t occur.
When to Winterize: Timing by Climate Zone

Timing depends on climate, microclimate, and exposure. A safe rule of thumb: begin once nighttime lows consistently fall below 40°F (4°C) and finish before your region’s typical first hard frost.
Northern & Upper Midwest (USDA Zones 3–5)
Expect prolonged freezes and persistent snow cover. Complete winterization in late October to early November. Fully drain lines, open end caps, remove or protect above-ground emitters, and store filters/regulators indoors. If you have rigid manifolds, consider an air blow-out (done safely—see Draining Methods).
Mid-Atlantic, Lower Midwest & Mountain Regions (Zones 6–7)
Winters are mixed: stretches of freeze followed by thaws. Drain lines and open ends; store vulnerable parts. You may keep certain greenhouse or cold-frame zones active, but protect electronics and use insulated covers on backflow preventers and outdoor valves.
South & Southwest (Zones 8–10)
Hard freezes are uncommon but possible. Many gardeners opt for a partial winterization: clean and flush lines, drain exposed segments, and store controllers/filters. In arid regions, occasional winter watering may be beneficial for perennials; use manual cycles during warm spells.
Pacific Coast & Pacific Northwest
Mild winters with intermittent cold snaps. A light winterization is often sufficient: drain exposed laterals, vent far ends, and insulate key valves/backflow devices.
Step-by-Step Winterization Procedure
The steps below are brand-neutral and apply to barbed, push-to-connect, or hybrid systems. Adapt to your layout and local climate.
1) Shut Off and Depressurize
- Close the main water supply to the irrigation system (hose bib or manifold).
- Open at least one downstream point (end cap, emitter, or drain valve) to relieve trapped pressure.
2) Disconnect and Store Sensitive Components
- Timers/controllers: Remove battery-powered timers; take out batteries. For smart controllers, back up schedules and follow storage guidance.
- Filters & pressure regulators: Remove and rinse. Allow to dry fully; store in a clean, dry place.
- Backflow preventers: In freeze zones, remove or insulate per local code. If permanent, follow local guidance for winterizing potable-water backflow assemblies.
3) Open the System for Drainage
- Open every line’s terminal point: end caps, flush valves, or removable emitter ends.
- For in-line drip tubing, use designated flush ends if present. If not, temporarily remove a fitting at the lowest point.
- Lift low spots gently to encourage water to migrate to an open end. Work from the supply outwards.
4) Gravity Drain and Optional Manual Assist
- Allow lines to drain by gravity for 20–30 minutes. Lightly shaking or flexing above-ground segments can speed the process.
- Use a hand pump or bulb syringe on stubborn low points. Avoid forcing debris deeper into the system.
5) Optional: Controlled Air Blow-Out
- Keep pressure low. For typical home drip laterals, 15–25 PSI is ample to evacuate water. Avoid exceeding the lowest-rated component.
- Use short pulses rather than a continuous blast; monitor the line to avoid ballooning soft tubing.
- Disconnect or bypass sensitive parts first (filters, regulators, timers).
- Wear eye protection and keep bystanders away from discharge points.
If you use compressed air, connect at the manifold or a service port with an adapter. Pulse air until a light, intermittent mist (not a solid stream) exits from the far end; then stop. Reconnect only after all moisture has dispersed.
6) Clean, Inspect, and Replace Wear Items
- Rinse screens and filter canisters. If mineral scaling is present, soak metal or plastic screens in a mild 1:4 white-vinegar solution, rinse, and dry.
- Check O-rings for flattening, cracks, or brittleness. Replace as needed.
- Examine tubing for UV chalking, kinks, and abrasions. Replace compromised sections now.
7) Label and Store
- Label lines or zones (e.g., “Front beds,” “Trellis tomatoes,” “Herb planters”).
- Bag small fittings by zone to simplify spring setup.
- Store controllers, filters, regulators, and spare emitters indoors in a dry container.
8) Protect What Remains Outside
- Leave terminal ends slightly open (or vented) if your climate sees deep cold; this allows any remaining moisture to expand without stressing the tube. Close fully only after the risk of freeze has passed.
- Add insulating covers to exposed valves and backflow assemblies where code permits.
Tools and Materials You’ll Need
- Bucket or bin for parts and small fittings
- Adjustable wrench and screwdriver set
- Rags, towels, or shop cloths
- Tubing cutters (clean, square cuts reduce spring leaks)
- Air adapter and compressor (optional, for blow-outs)
- White vinegar (for mineral deposits on screens)
- Food-safe silicone grease for O-rings (small amount)
- Weather-proof labels, zip ties, and storage bags
Draining Methods: Gravity, Air, and Manual Techniques
Choose the least aggressive method that achieves a dry, depressurized system for your climate and build.
Gravity Drain (Default)
Best for most home systems. Open ends, elevate low spots, and let water exit naturally. Combine with brief manual assist for trapped pockets. Simple, low risk, and effective for flexible PE networks.
Manual Assist
Hand pumps or bulb syringes help evacuate small pockets at low points. Avoid suction that could pull debris into emitters. This works well for small raised-bed branches and planter feed lines.
Compressed Air (Advanced/Cold Regions)
Use only if gravity isn’t sufficient or you have rigid assemblies that trap water. Keep pressure conservative (often 15–25 PSI for laterals), pulse the air, and disconnect sensitive parts first. Always stand clear of discharge points.
Protecting Timers, Valves, and Electronics
- Battery timers: Remove, clean, dry, and store indoors. Remove batteries to prevent leakage. Document schedule settings or take a photo.
- Smart controllers: Follow the manufacturer’s guidance for outdoor units. Many are weatherproof but benefit from a protective cover. If removable, bring inside.
- Solenoid valves: Outdoor valves on manifolds can remain if enclosed in insulated boxes; keep the area dry and protected from standing water.
- Sensors: Moisture and rain sensors should be stored or shielded; confirm cabling and connections are weather-tight.
Off-Season Maintenance and Planning
Winter is the ideal time to fix inefficiencies and plan upgrades. With the system offline, you can map future beds, rebalance zones, and set goals for water savings next season.
Layout and Zone Improvements
- Re-group plants by similar water needs to reduce run times and overwatering.
- Introduce shutoff valves for subzones (e.g., raised beds vs. perennial borders) to increase control.
- Convert underperforming micro-sprays to staked emitters or dripline for better distribution in windy spots.
Efficiency and Cost Control
- Swap older emitters for adjustable models where appropriate.
- Consider moisture sensors in regions with variable winter rainfall to prevent unnecessary watering during warm spells.
- Standardize fittings to one system type (barbed or push-to-connect) to simplify spares.
Documentation
- Create a simple zone legend and keep it with your stored parts.
- Note any chronic issues (pressure drops, algae) and plan targeted fixes for spring.
Troubleshooting After Winter
When you restart the system in spring, run a structured check:
- Pressurize gradually: Start with the mainline only. Check for leaks or weeping at connectors.
- Flush each zone: Open flush ends until water runs clear.
- Verify uniform output: Observe emitters for weak spray or delayed start; swap any that are sluggish or clogged.
- Pressure sanity check: If a zone underperforms, isolate segments to find a split or blocked line.
Common issues and fixes:
- Weeping at a fitting: Reseat tubing, cut a fresh square end, or replace O-rings/barbs.
- Uneven flow: Clean filters; check for kinked branches or algae in low-flow lines.
- Mystery wet spot without visible leak: Inspect buried or mulched lines for pinholes created by ice or critters.
- Sudden pressure drop: Look for a disconnected branch, split at a bend, or a failed regulator.
Sustainable, Eco-Smart Winterization
- Water reuse: Direct gravity-drained water to perennials or compost areas during warm days.
- Non-toxic cleaning: Favor mild vinegar soaks for scaling; avoid harsh chemicals that can persist in tubing.
- Extend component life: Proper storage and periodic O-ring lubrication reduce replacement frequency and plastic waste.
- Right-size upgrades: Choose emitters and regulators matched to plant needs; avoid oversizing that wastes water and energy.
- Inventory mindfulness: Consolidate spare fittings by diameter to reduce duplicates and packaging waste.
Regional Case Studies and Real-World Scenarios

Case Study 1: Raised Beds in a Cold Climate (Zone 4–5)
A gardener with two 4×8 raised beds and staked emitters drains by gravity, removes all emitter stakes and filters, and stores them indoors. End caps remain slightly open until deep cold arrives, then are closed and covered with mulch. In spring, the system restarts without leaks, saving a half-day of repairs compared to previous years.
Case Study 2: Desert Southwest (Zone 9)
With rare hard freezes, the homeowner performs a partial winterization: flushing lines, cleaning screens, and shutting down ornamental zones while keeping perennials on a manual monthly cycle during warm spells. Electronics stay outdoors under a protective cover; filters are stored inside to prevent mineral crusting.
Case Study 3: Coastal Pacific Northwest (Zone 8)
The system is winterized lightly: exposed micro-sprays are drained and capped, and the mainline is vented at the far end. A backflow preventer is insulated. A single cold snap occurs; no damage is reported thanks to open vents and quick drainage.
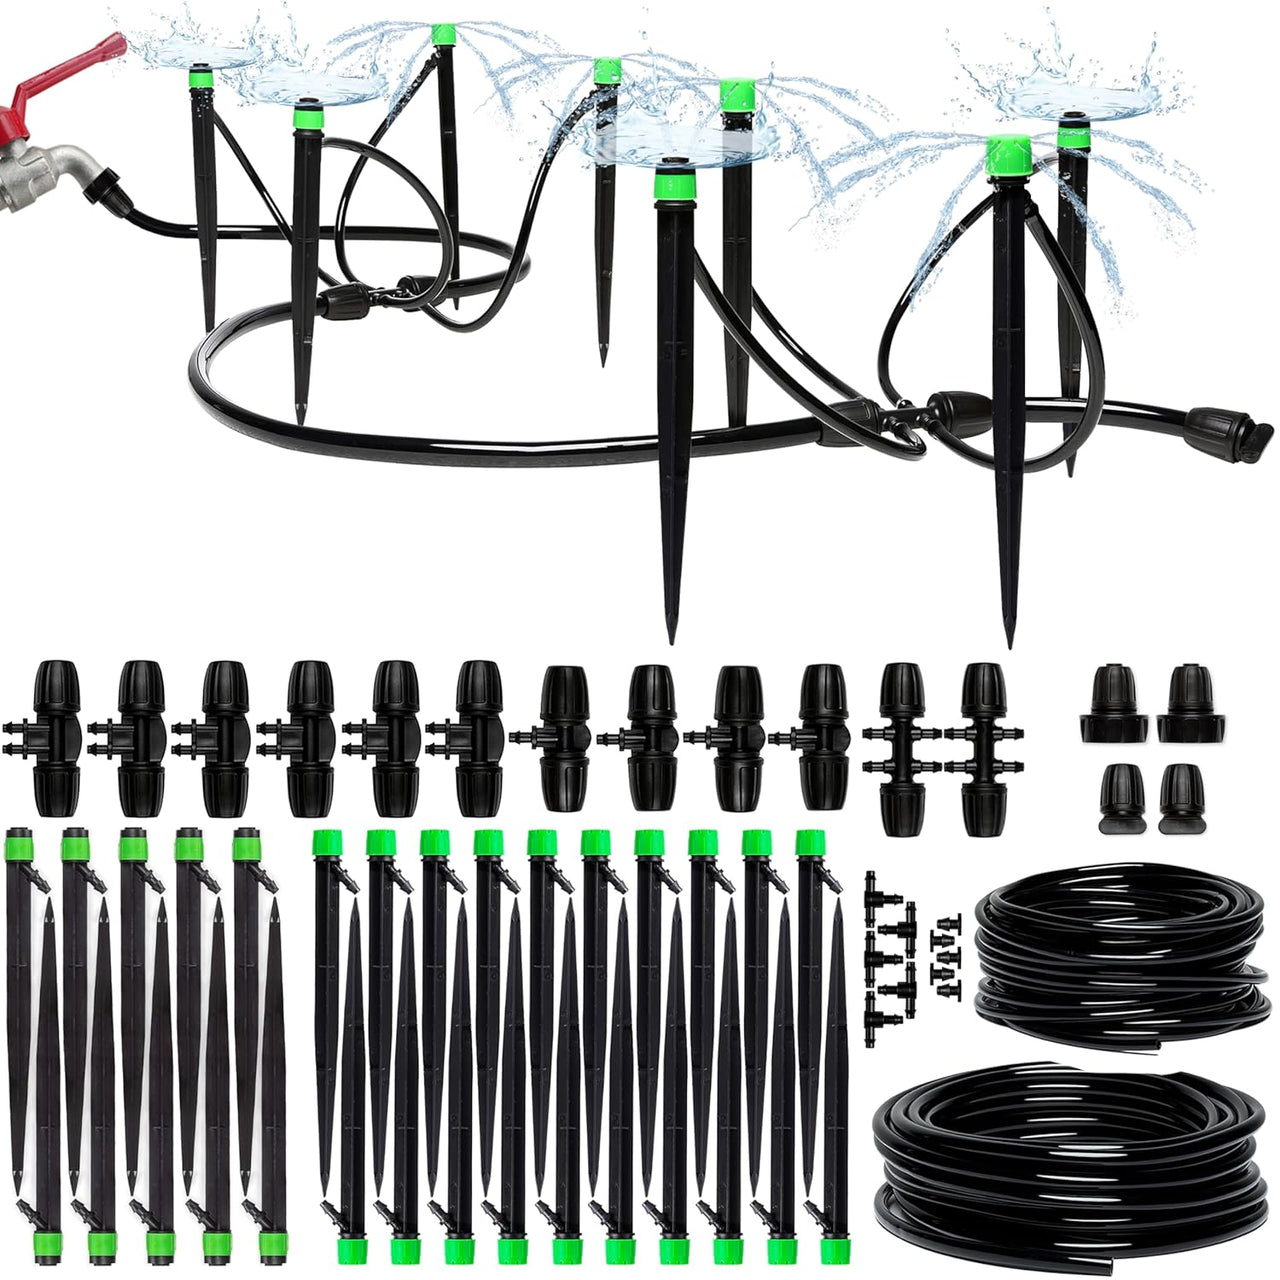
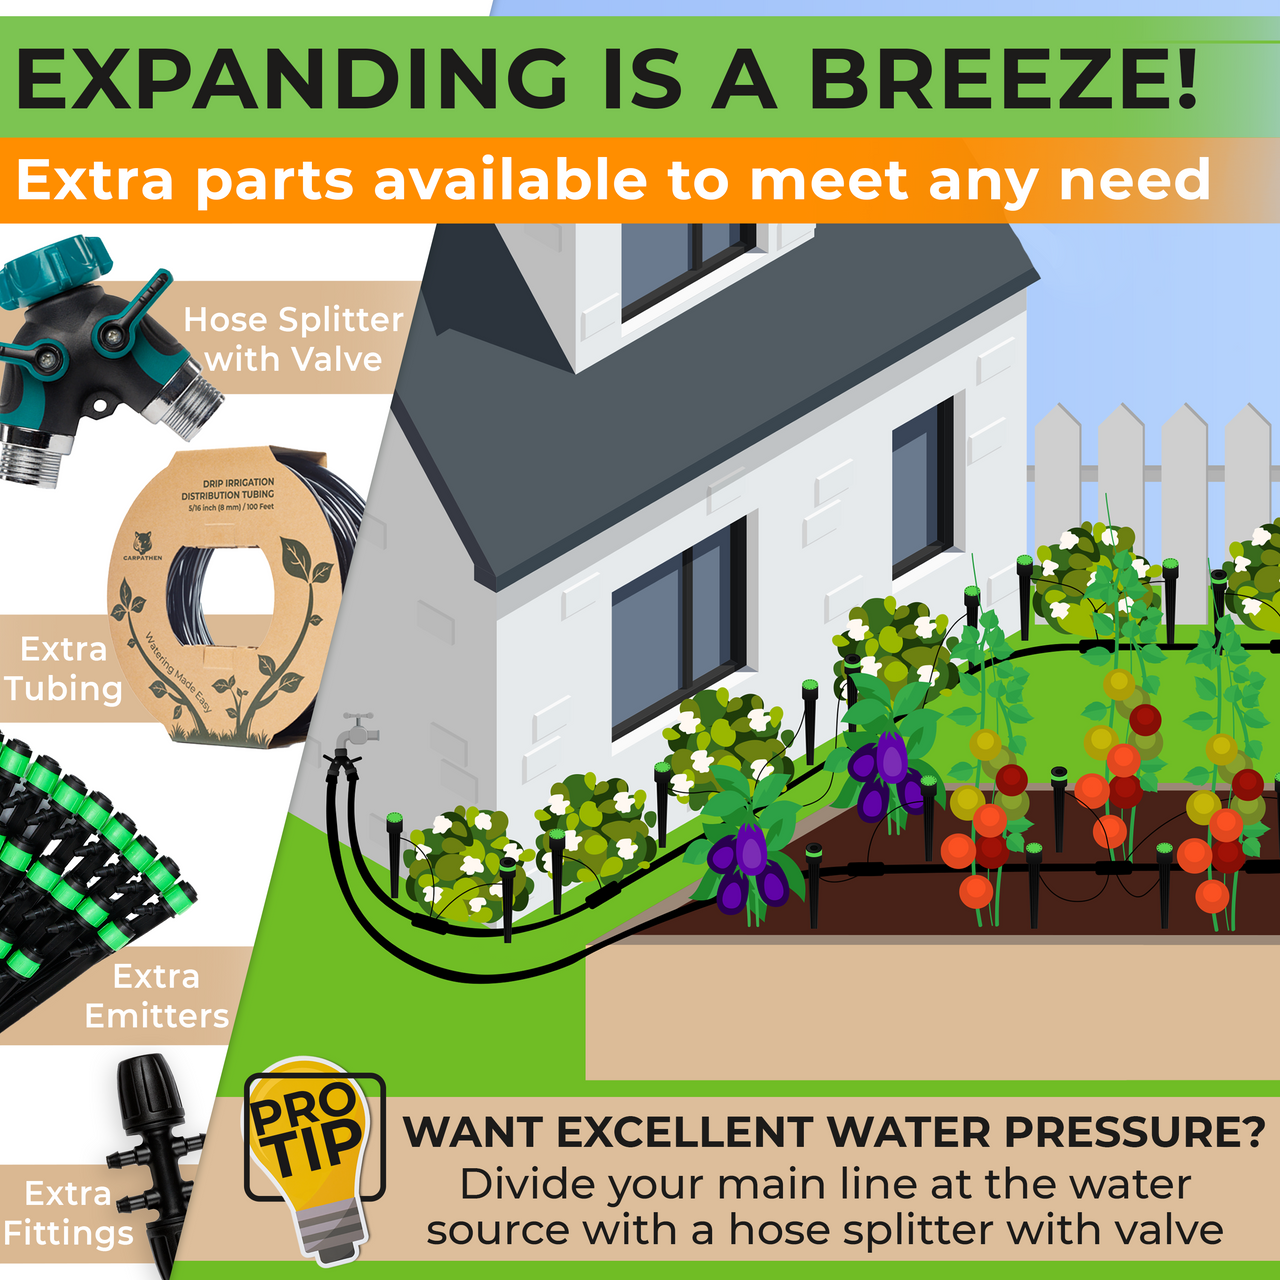
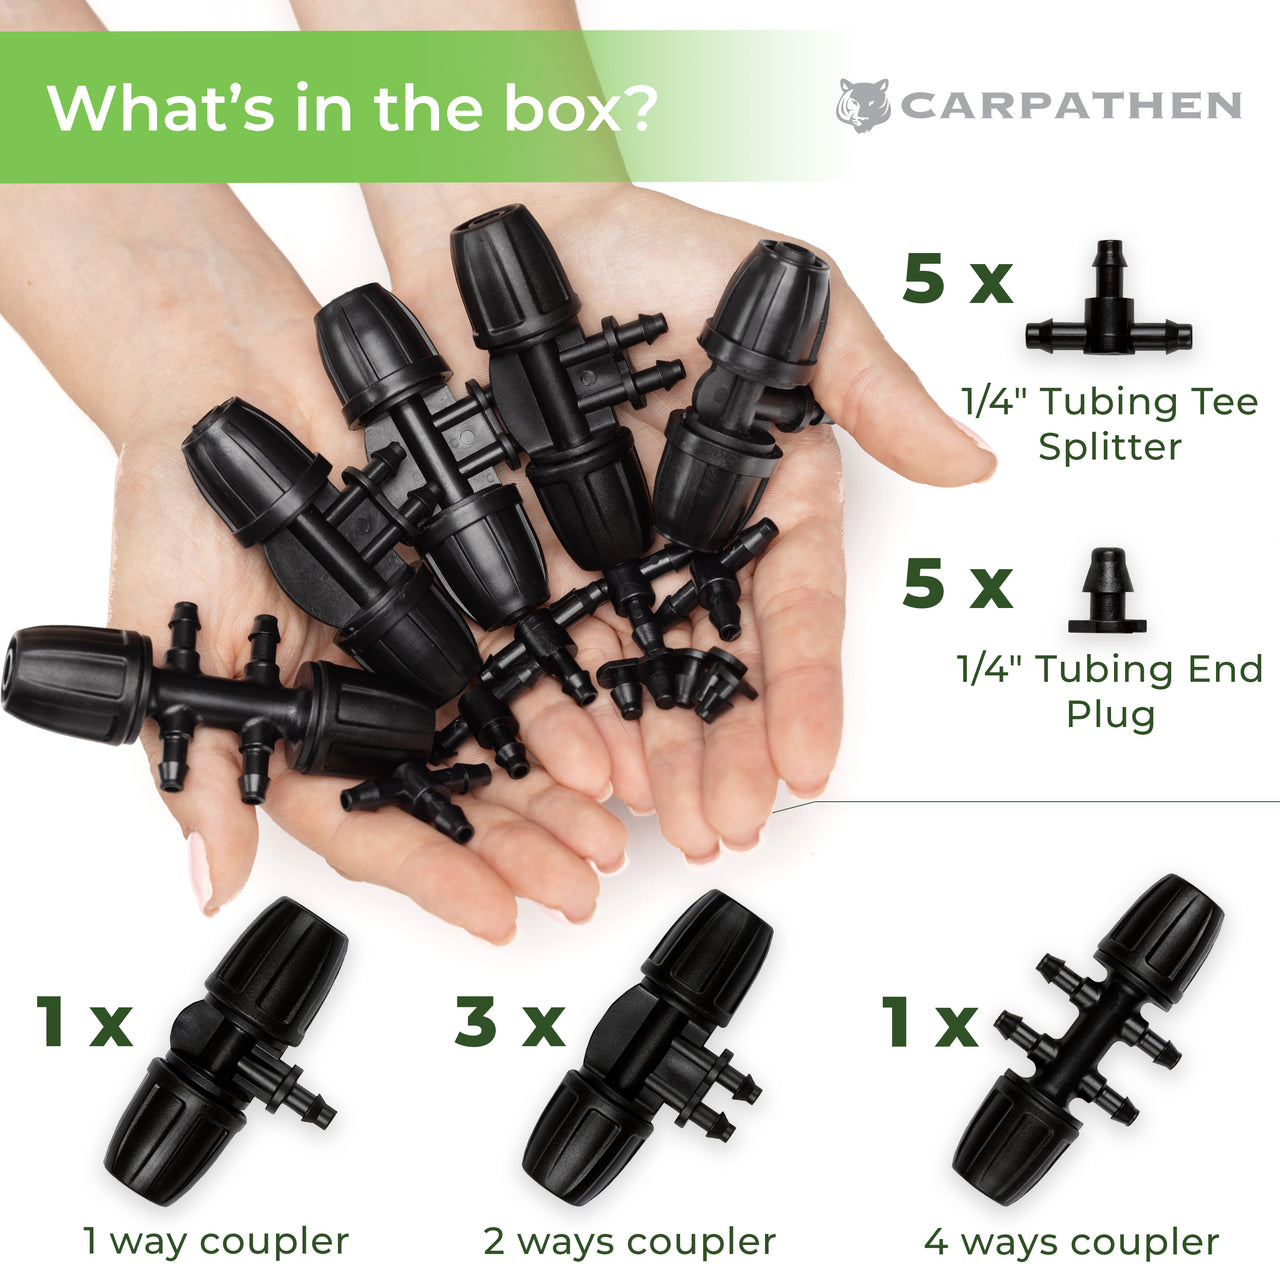
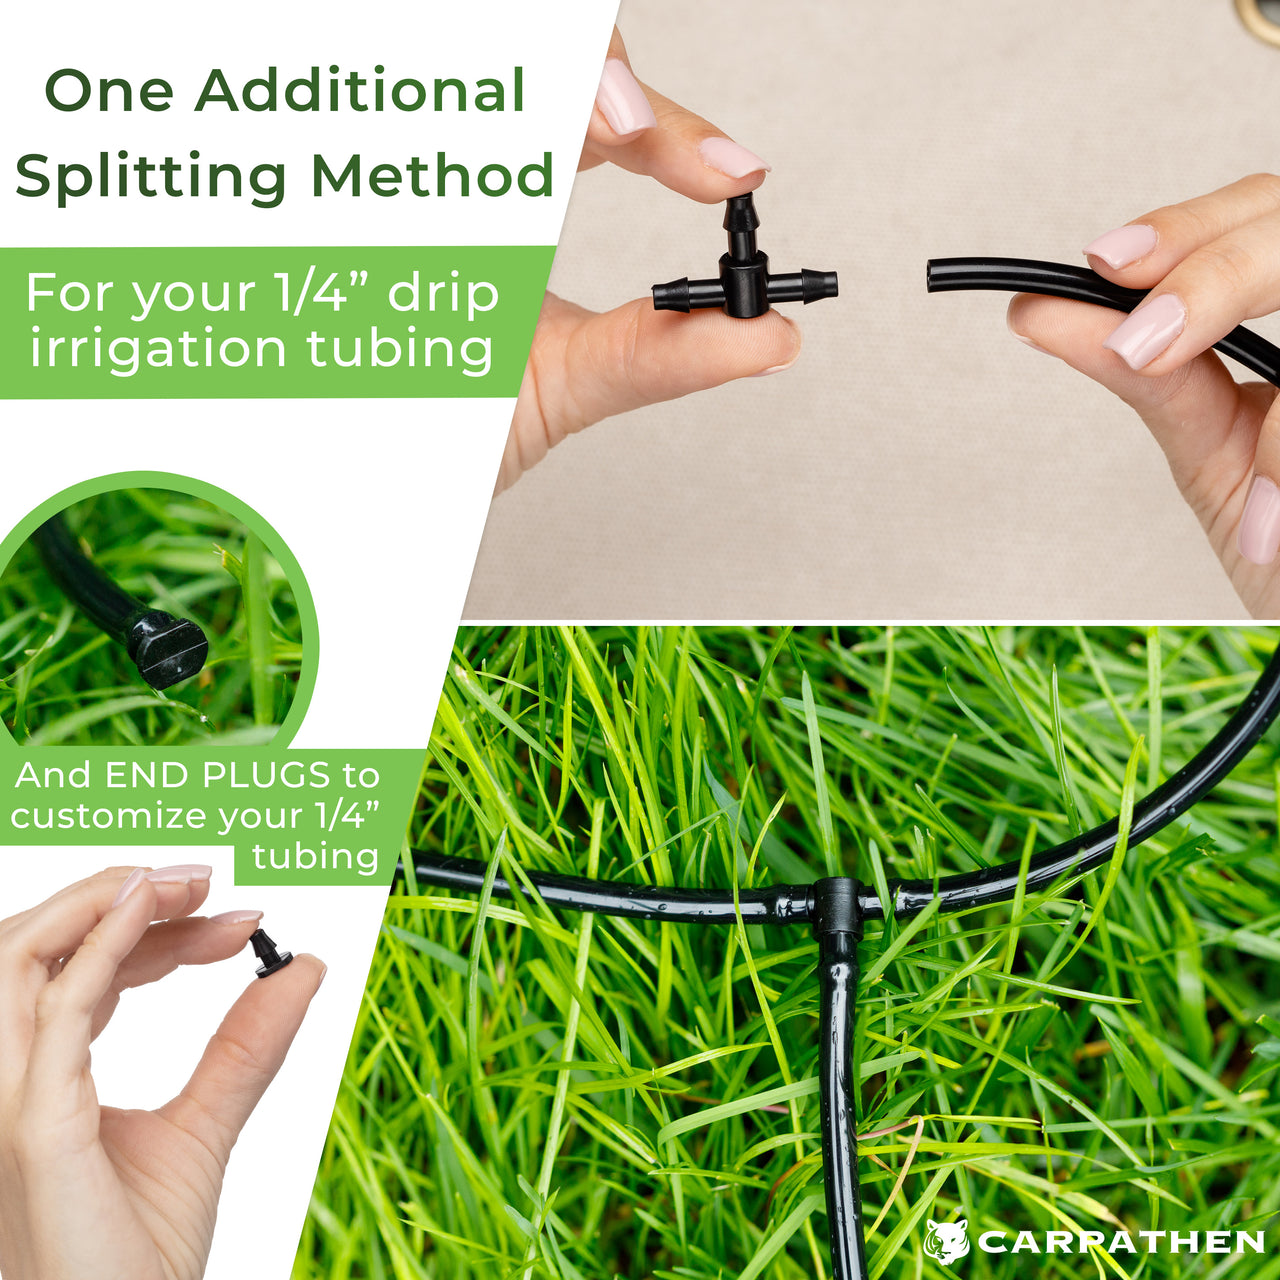
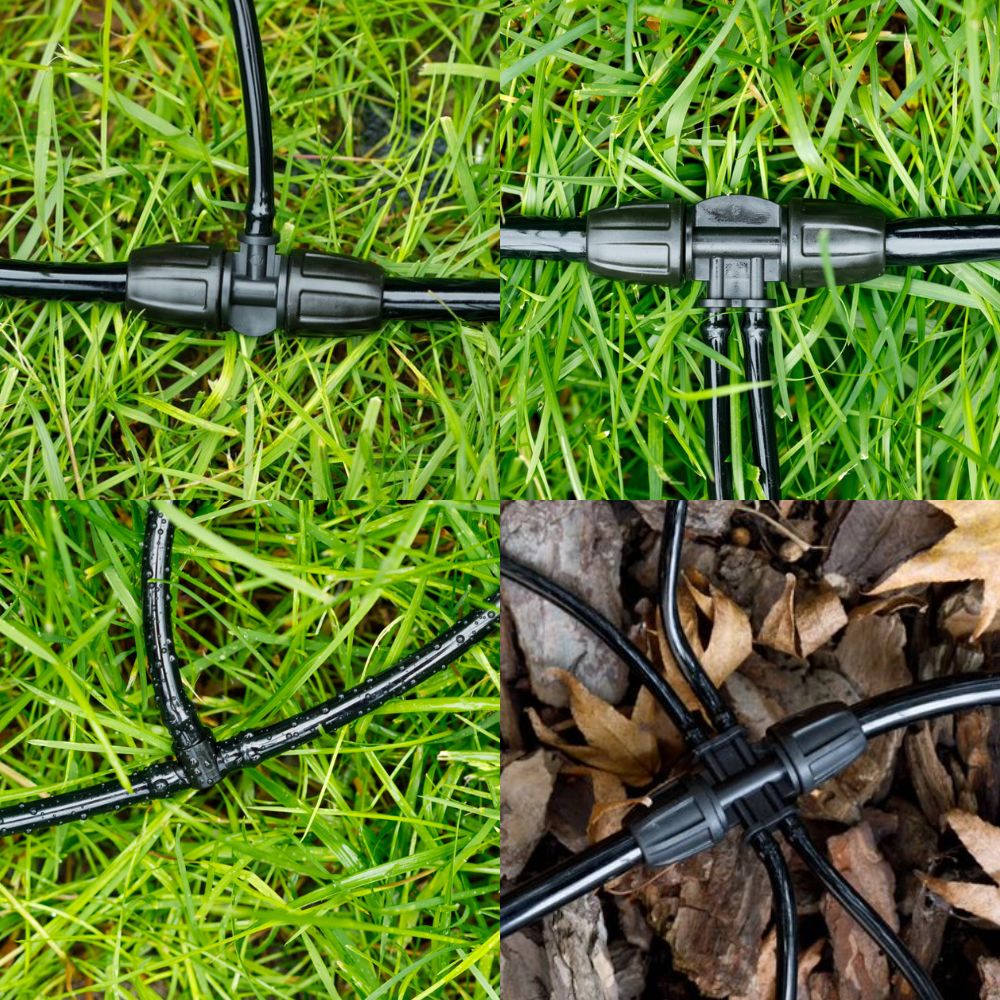
Integrating Carpathen Systems
The guidance above applies to all major brands and configurations. If your setup includes Carpathen components from the 1/2" Push-to-Connect System or the 5/16" Standard System, here’s how they typically fit into winterization best practices:
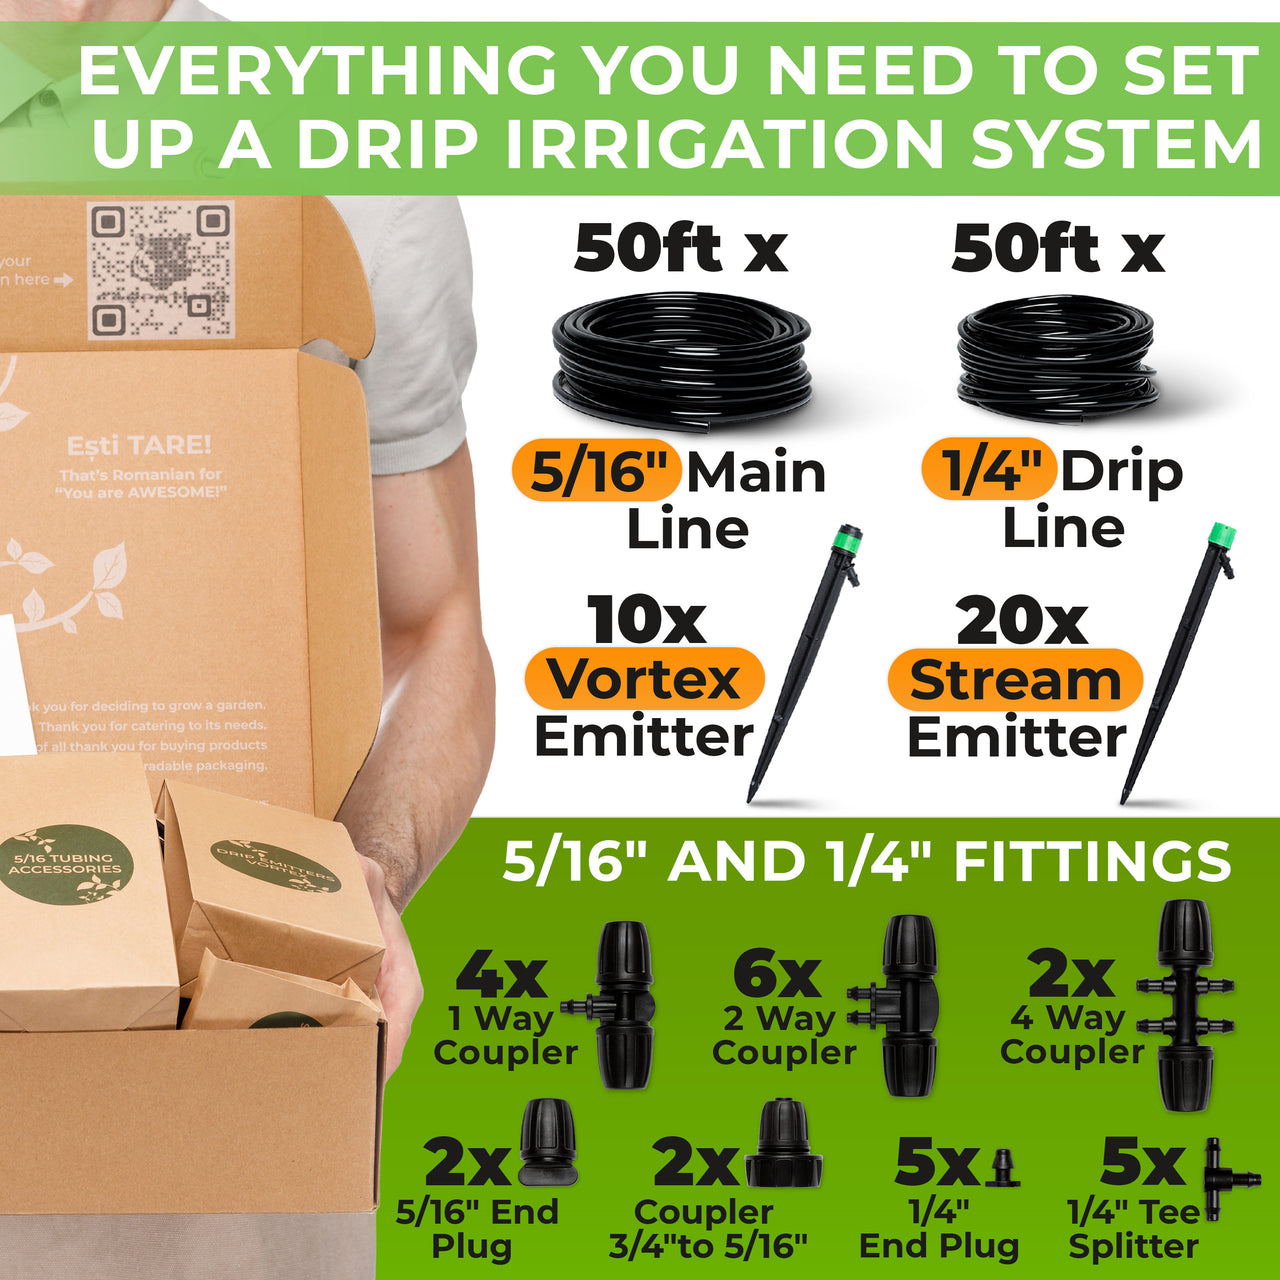
- Mainline and branch tubing: Flexible PE tubing drains well by gravity. Open end plugs and lift low spots to speed evacuation.
- 1/2" Push-to-Connect System emitters: Quick to remove for indoor storage; reassembly in spring does not require heating or special tools. Mist heads are exclusive to this system.
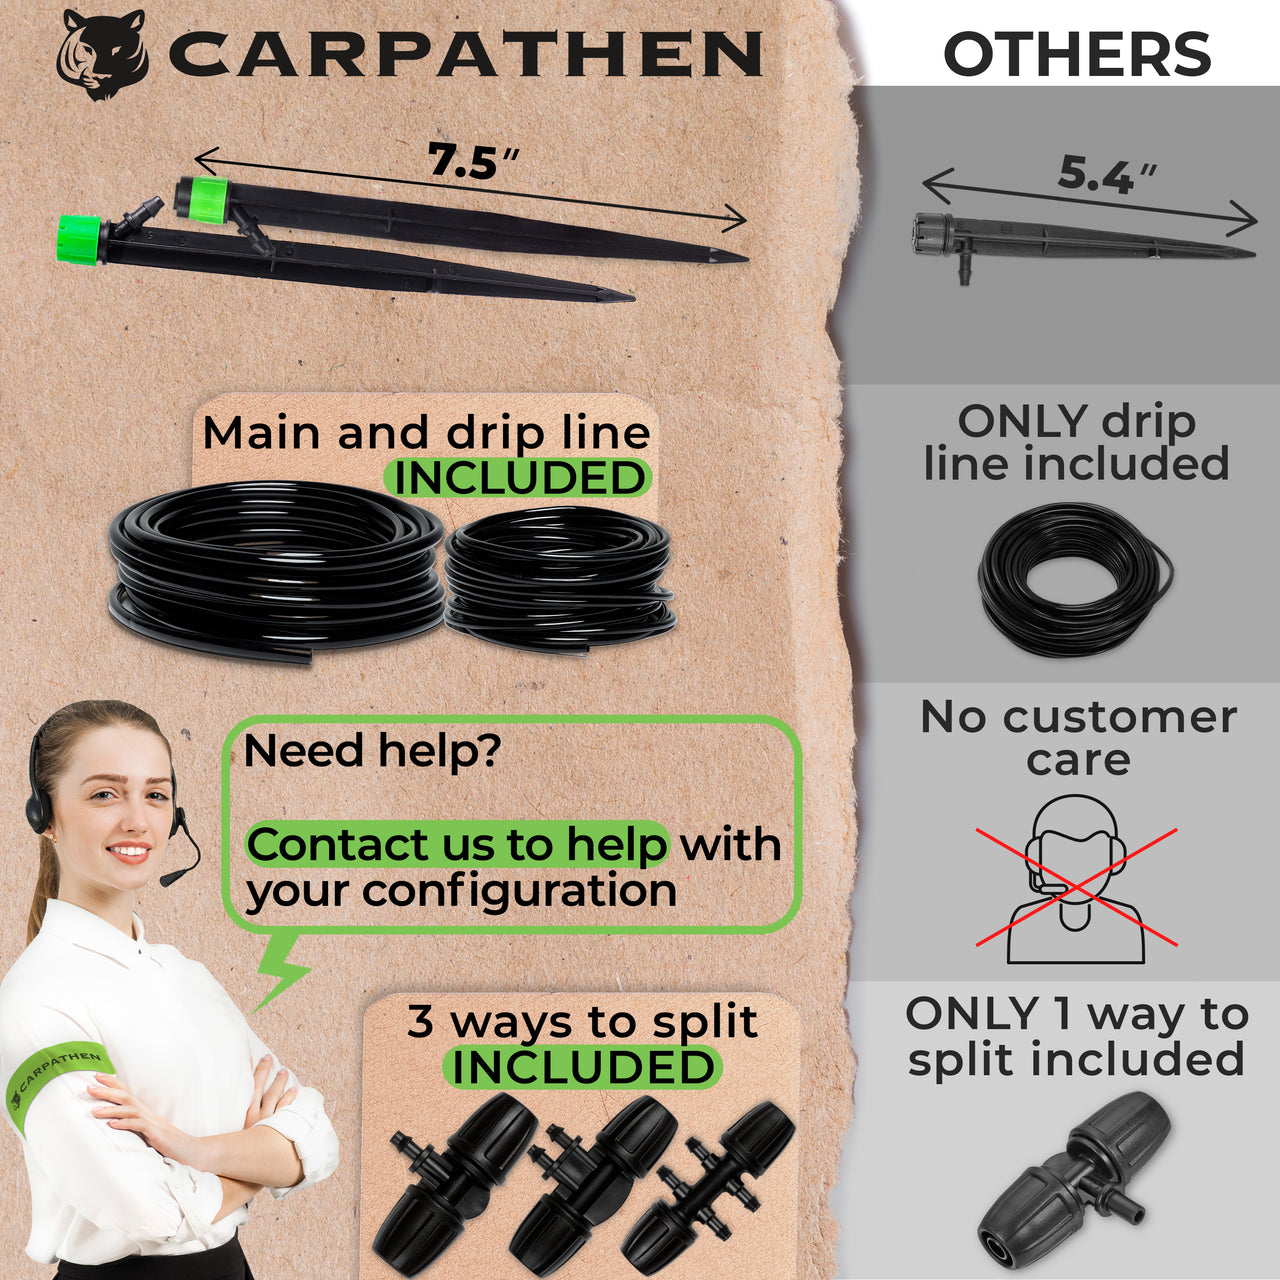
- 5/16" Standard System (barbed) fittings: If your system uses barbed connectors, detach branches before deep freezes if you plan to store them. In spring, recut ends square for a fresh, reliable seal.
- Filters and regulators: Remove, rinse, and store indoors. A mild vinegar soak addresses mineral deposits on screens.
- End plugs and tees: Use these points to flush and vent during winterization. Label by zone for faster spring startup.
Managing a mixed-brand system? Standardize spares (O-rings, end caps) to the most common sizes in your garden to reduce downtime during spring commissioning.
Frequently Asked Questions
Do I always need to blow out drip lines with compressed air?
No. For most home drip systems, gravity draining with open ends is sufficient. Use compressed air only if you have rigid sections, complex manifolds that trap water, or very cold winters where residual moisture routinely freezes. Keep pressures conservative (often 15–25 PSI for laterals) and disconnect sensitive parts first.
Can I leave in-line drip tubing (dripline) in the beds over winter?
Yes, in most cases—provided it is fully drained and end caps are opened for venting during freeze events. If your climate experiences severe freezes, consider lifting low points and adding mulch to protect exposed sections.
Should I remove every emitter stake?
In hard-freeze regions, removal and indoor storage is recommended for above-ground stakes and micro-sprays. In milder regions, thorough draining and a protective cover is often adequate.
What do I do with filters and pressure regulators?
Remove, rinse, and dry them fully. Store indoors to prevent freeze damage and mineral crusting. Reinstall during spring commissioning after a quick inspection of seals.
How soon should I start winterizing?
Begin once nightly lows consistently drop below 40°F (4°C) and before your area’s expected first hard frost. It’s better to be early than to rush after a sudden cold snap.
Is vinegar safe for cleaning irrigation screens?
A mild 1:4 white-vinegar solution is widely used to dissolve mineral deposits on metal or plastic screens. Rinse thoroughly and let dry before storage.
What if I discover leaks in spring?
Depressurize the system, isolate the zone, and inspect the nearest fittings. Cut tubing ends square and re-seat, replace O-rings if applicable, and flush the line before returning to normal pressure.
Do I need to remove a smart controller?
Many outdoor-rated controllers can stay in place under protective covers. If removable and convenient, bring it indoors. Always back up schedules and remove batteries from battery packs for storage.
Should I leave end caps open all winter?
In very cold zones, leaving end caps slightly open (or vented) through early winter allows expansion without stressing tubing. Once deep cold sets in and lines are dry, you can close and cover them to keep debris out.
Can I keep watering a few beds during a mild winter?
Yes—many gardeners in Zones 8–10 run occasional manual cycles. Protect electronics, keep filters clean, and be ready to drain quickly before forecasted freezes.
What’s the easiest way to avoid spring clogs?
Clean and dry filters before storage, flush lines thoroughly during shutdown and startup, and store removable emitters indoors in labeled bags to keep dust and insects out.
Conclusion

Winterization is preventive care for your drip irrigation system. By draining water, protecting sensitive parts, and documenting your layout, you avoid freeze damage, reduce spring troubleshooting, and extend the life of every component—from tubing and barbs to regulators and smart controllers. Whether you garden in a snowy Zone 4 or a sunny Zone 9, the process scales to your climate: full drain and indoor storage where hard freezes are common, or partial shutdown and routine flushing where winters are mild. Come spring, you’ll open the tap, run a quick flush, and be back to efficient, targeted watering with confidence.
Next steps: label zones, bag small fittings by area, and add a short spring commissioning checklist to your garden notebook. A few minutes now ensures a smooth first watering day when the growing season returns.