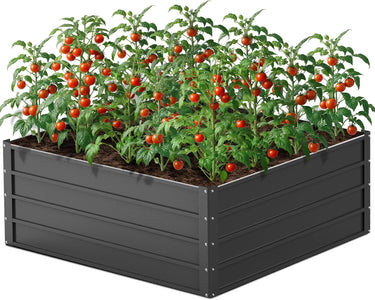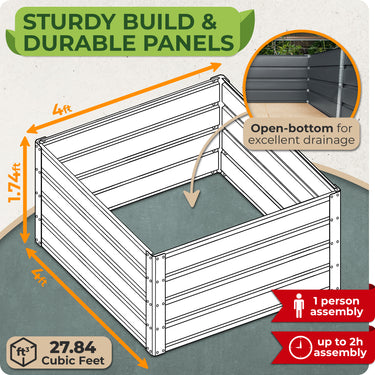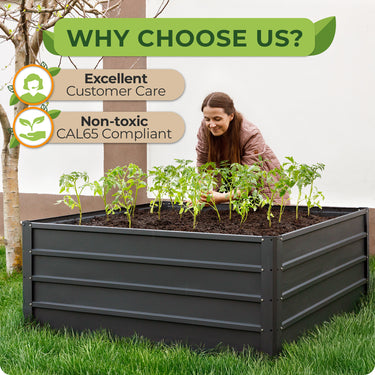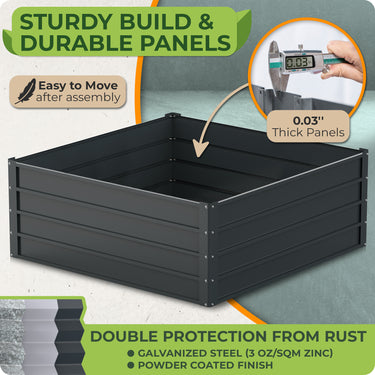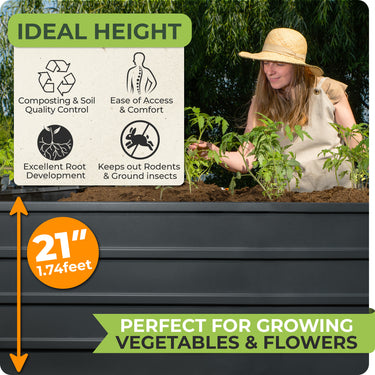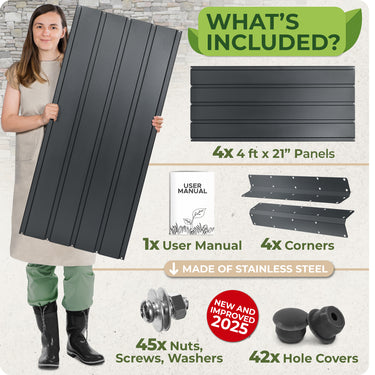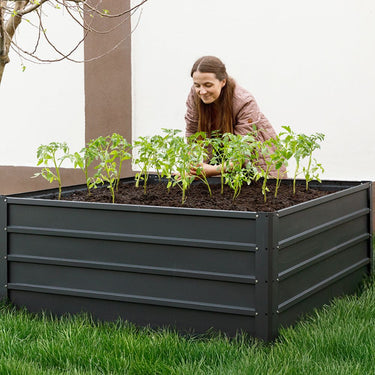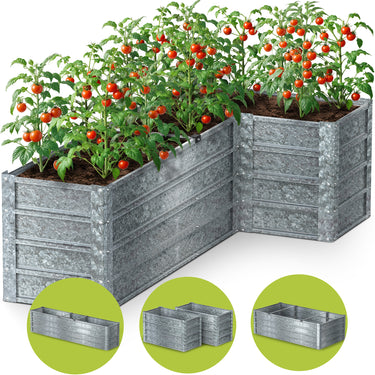
Raised garden beds have become a favorite among gardeners, offering a versatile and efficient way to grow plants in almost any environment. These elevated plots are designed to provide better control over soil quality, drainage, and plant placement, making them ideal for growing a variety of vegetables, herbs, and flowers. Whether you're working with limited yard space, poor soil conditions, or simply looking for a more organized gardening approach, raised beds provide a practical solution that enhances plant health and reduces maintenance.
Table of Contents
- 1. How to fill raised garden beds - useful materials for your garden
- 1.1. Filling raised garden beds with cardboard
- 1.2. Filling raised garden beds with logs
- 1.3. Filling raised garden beds with branches
- 1.4. Filling raised garden beds with straw
- 1.5. Filling raised garden beds with leaves
- 1.6. How to fill a raised garden bed with soil
- 2. Tips for filling tall raised garden beds and how to protect them long term
1. How to fill raised garden beds - useful materials for your garden
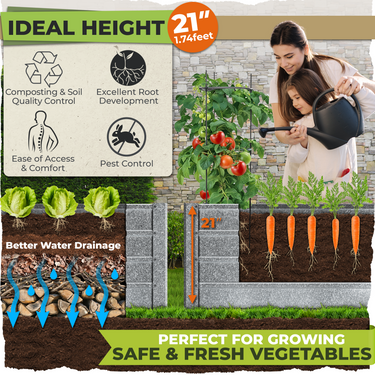
Raised garden beds are an increasingly popular gardening method, offering a variety of benefits for both novice and experienced gardeners. These elevated plots, typically enclosed by wood, stone, or other materials, help create optimal growing conditions by improving drainage, soil quality, and plant management. Raised beds are especially helpful in areas with poor or compacted soil, as they allow gardeners to control the soil mix used and protect plants from pests or weeds. Additionally, they can reduce physical strain, making gardening more accessible and enjoyable for people of all abilities.
Choosing the right materials to fill raised garden beds is essential for the health and productivity of your garden. A well-balanced mixture of organic and inorganic materials not only supports healthy plant growth but also improves water retention, soil structure, and nutrient levels. Commonly used materials like compost, topsoil, and mulch provide essential nutrients, while amendments like perlite or vermiculite enhance soil aeration.
1.1. Filling raised garden beds with cardboard

Photo by Markus Spiske on Unsplash
Filling raised garden beds with cardboard is an eco-friendly and cost-effective technique gaining popularity among gardeners. This method, often called sheet mulching or lasagna gardening, offers several benefits, such as:
➤ Weed suppression: cardboard acts as a barrier, smothering existing weeds and preventing new ones from sprouting.
➤ Soil improvement: as cardboard decomposes, it adds organic matter to the soil, improving its structure and nutrient content.
➤ Moisture retention: the cardboard layer helps retain moisture in the soil, reducing the need for frequent watering.
➤ Recycling: this approach puts used cardboard to good use, diverting it from landfills.
To implement this technique:
- Remove any tape or labels from the cardboard.
- Layer the bottom of your raised bed with overlapping cardboard sheets.
- Wet the cardboard thoroughly.
- Add your preferred soil mix on top, filling the bed to the desired level.
Remember to use plain cardboard without glossy printing or dyes. As you plant, simply cut holes through the cardboard where needed. Over time, the cardboard will break down, leaving you with rich, healthy soil for your garden to thrive in.
1.2. Filling raised garden beds with logs
Filling raised garden beds with logs is a technique derived from the permaculture practice known as hugelkultur, which translates to "hill culture" or "mound culture" in German. When applied to raised garden beds, this technique offers numerous benefits and can significantly enhance your gardening experience.
The principle behind filling raised beds with logs is based on the natural decomposition process. As logs and other woody materials break down, they:
As logs decompose, they release a steady stream of nutrients into the soil. This process can continue for several years, providing a long-term, slow-release fertilizer for your plants.
Logs act like sponges, absorbing and holding water. This can significantly reduce the need for frequent watering, which is especially beneficial in areas prone to drought. By slowly releasing moisture back into the soil, logs help maintain a consistent level of hydration for your plants, promoting healthy root development and growth.
Even so, in high temperatures, it's still necessary to supplement with a drip irrigation system. This ensures that your garden continues to receive adequate moisture during heatwaves, preventing plants from wilting or becoming stressed due to dry conditions. Drip irrigation systems deliver water directly to the roots, conserving water while keeping your raised beds optimally hydrated.
Decomposing wood generates heat, which can warm the soil. This can be particularly advantageous in cooler climates, potentially extending the growing season. Also, by using logs in your garden beds, you're effectively sequestering carbon, contributing to the fight against climate change on a small scale.
Here’s how to fill a raised garden bed with logs:
Step 1: Gather materials
Collect logs, branches, and other woody debris. Softer woods like pine or poplar will decompose faster, while hardwoods like oak will last longer but decompose more slowly.
Step 2: prepare the bed
If your raised bed is directly on the ground, consider laying down a layer of cardboard to suppress weeds. If it has a solid bottom, ensure proper drainage holes are in place.
Step 3: add the logs
Place the largest logs at the bottom of the bed. Fill in gaps with smaller branches and twigs. Aim to fill about 1/3 to 1/2 of the bed's depth with woody material.
Step 4: add nitrogen-rich materials
Because decomposing wood can temporarily tie up nitrogen in the soil, it's beneficial to add nitrogen-rich materials. Layer grass clippings, green leaves, or aged manure over the logs.
Step 5: add compost and soil
Fill the remainder of the bed with a mixture of compost and good-quality garden soil. Ensure you have at least 6-8 inches of soil on top for planting.
Step 6: water thoroughly
Give your new bed a good soaking. This will start the decomposition process and help settle the materials.
In the first year, it's best to choose plants that don't require high levels of nitrogen. Good options include:
- Squash and pumpkins.
- Beans and peas, which fix their own nitrogen.
- Root vegetables like carrots and beets.
- Leafy greens like kale and Swiss chard.
1.3. Filling raised garden beds with branches

Photo by Priscilla Du Preez CA on Unsplash
Filling raised garden beds with branches is an eco-friendly and cost-effective gardening technique that draws inspiration from the natural forest floor. Similar to hugelkultur, this method offers several benefits to home gardeners, such as:
➔ Improved drainage: branches create air pockets in the soil, enhancing drainage.
➔ Gradual nutrient release: as branches decompose, they slowly release nutrients into the soil.
➔ Water retention: decomposing wood acts like a sponge, holding moisture for plants.
➔ Soil aeration: the structure of branches promotes better soil aeration.
➔ Waste reduction: provides a use for pruned branches and yard waste.
How to fill raised garden beds with branches:
- Gather branches of various sizes, preferably from deciduous trees.
- Layer the bottom of your raised bed with the largest branches.
- Fill gaps with smaller branches and twigs.
- Add a layer of leaves or grass clippings to provide nitrogen.
- Top with a mix of compost and garden soil, leaving at least 6 inches for planting.
- Water thoroughly to start the decomposition process.
Tips for success:
- Use a mix of branch sizes for better soil structure.
- Avoid using diseased wood or branches from allelopathic trees like black walnut.
- Be prepared to top up the bed with soil as the branches decompose over time.
- In the first year, choose plants that don't require high nitrogen levels.
This method allows you to create a self-sustaining ecosystem within your raised bed that will nourish your plants for years to come. It's an excellent way to recycle yard waste while building healthy, productive soil for your garden.
1.4. Filling raised garden beds with straw

Photo by Caleb Rankin on Unsplash
Straws are a cheap way of filling raised garden beds, offering an innovative approach to gardening. It's particularly useful for those with poor soil, as it creates an instant growing medium. As the straw breaks down, it enriches the soil, creating a fertile environment for plants to thrive. With proper preparation and care, a straw-filled raised bed can provide bountiful harvests and improve your soil quality over time.
How to fill a raised bed with straw:
- Choose the right straw: use straw, not hay. Wheat straw is most common, but oat or barley straw also work well.
-
Prepare the straw:
- Soak the straw thoroughly with water.
- Add a high-nitrogen fertilizer to kickstart decomposition.
-
Let it "cook" for about two weeks, keeping it moist.
-
Fill the bed:
- Place a layer of cardboard at the bottom of the bed for weed suppression.
- Fill the bed with the prepared straw, packing it down firmly.
-
Leave about 6 inches at the top for a layer of compost or potting soil.
-
Add growing medium: top the straw with a layer of compost or potting soil for planting.
- Plant your garden: create pockets in the soil layer for planting, ensuring roots can reach the decomposing straw below.
Straw-filled beds work well for a variety of plants, including:
- Tomatoes, peppers, and other nightshades
- Squash and melons
- Root vegetables like carrots and radishes
- Leafy greens such as lettuce and spinach
- Herbs of all kinds
Even if it has a lot of advantages, using straw in raised garden beds comes with its own challenges. Straw can become a habitat for slugs and snails, so it's important to monitor for pests and use organic control methods if needed. Ensure the straw is herbicide-free to prevent unintended damage to your plants. Additionally, in hot weather, straw tends to dry out quickly, so the bed may require more frequent watering to maintain proper moisture levels.
1.5. Filling raised garden beds with leaves
If you are wondering how to fill raised garden beds cheaply, autumn leaves are your answer. They can be a gardener's secret weapon when it comes to filling raised beds. Let's explore this eco-friendly gardening hack through some common questions.
Why use leaves?
➣ Cost-effective: leaves are often free and abundant.
➣ Improves soil structure: decomposed leaves enhance soil texture.
➣ Adds nutrients: leaves contain valuable minerals that enrich the soil.
➣ Increases organic matter: this improves water retention and soil life.
➣ Supports beneficial organisms: decomposing leaves attract earthworms and beneficial microbes.
How to collect and prepare leaves?
- Gather leaves in autumn when they're plentiful.
- Avoid leaves from walnut trees or diseased plants.
- Shred leaves using a lawn mower or leaf shredder for faster decomposition.
Filling the raised bed:
- Start with a layer of cardboard at the bottom for weed suppression.
- Add a 6-inch layer of shredded leaves.
- Sprinkle a thin layer of soil or compost.
- Repeat layers until the bed is filled, leaving 2-3 inches at the top for planting soil.
- Water thoroughly to start the decomposition process.
For best results when using leaves in your raised garden bed, mix leaves from different trees to achieve a balanced nutrient profile and add nitrogen-rich materials like grass clippings or coffee grounds to accelerate decomposition. Keep the leaf layers moist but not waterlogged, and top up with fresh leaves or compost annually as the materials break down. Most plants thrive in leaf-enriched soil, so you can either plant directly into the top layer or create pockets filled with compost for immediate planting while the leaves decompose.
1.6. How to fill a raised garden bed with soil

Photo by Sandie Clarke on Unsplash
Filling up raised garden beds with the right soil mix is key to creating a thriving garden. The quality of the soil directly impacts plant growth, water retention, and nutrient availability, so it’s important to choose the right blend to give your plants the best possible start. Here is a step-by-step process for filling your raised garden bed with soil:
Step 1: preparing the bottom layer
Before you add soil, it’s essential to create a foundational layer that improves drainage and prevents soil compaction. This step is especially important when filling tall and deep raised garden beds. Start by lining the bottom of your raised bed with larger organic materials such as logs, branches, twigs, or straw. These materials act like sponges, helping to retain moisture while also breaking down over time to enrich the soil.
Step 2: adding organic matter
On top of the foundational layer, add a thick layer of organic matter such as compost, leaf mold, or grass clippings. Make sure to spread the organic matter evenly to create a uniform base.
Step 3: creating the soil mix
A common and effective mix includes one-third topsoil, one-third compost, and one-third aeration material such as perlite or vermiculite. The topsoil gives your plants a strong base to anchor their roots, while the compost adds rich nutrients. Perlite or vermiculite improve aeration and water retention, ensuring the roots have access to oxygen without becoming waterlogged.
Step 4: incorporating nursery pots
If you’re not ready to fill the entire raised bed with soil or are looking for a way to save on materials, incorporating nursery pots can be a clever solution. Place large, empty nursery pots upside down at the bottom of the bed. These pots take up space without hindering drainage, reducing the overall amount of soil you need to use. Once the pots are in place, cover them with your prepared soil mix.

Photo by Markus Spiske on Unsplash
Step 5: finishing touches
After filling your raised bed with the soil mix, lightly compact the soil with your hands or a garden tool to eliminate air pockets. However, avoid packing it too tightly, as this can restrict root growth and drainage. Once the soil is evenly distributed and settled, water it thoroughly to help the layers settle into place.
2. Tips for filling tall raised garden beds and how to protect them long term

Photo by Shutterstock
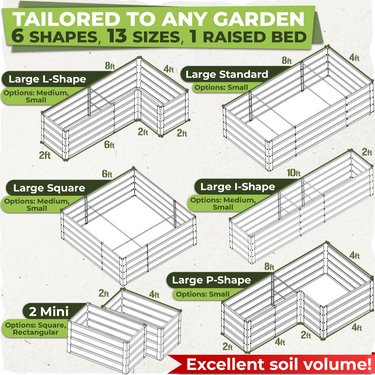
Raised garden beds are versatile, efficient, and a joy to work with. They come in various styles and designs, each suited to different gardening needs and preferences. Here are the different types of raised beds that can ease your gardening experience:
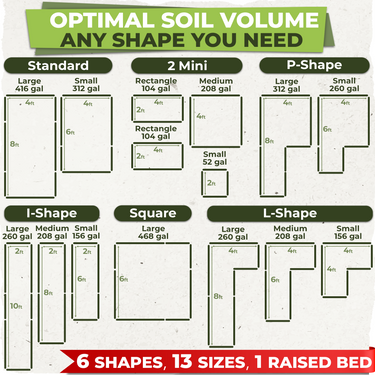
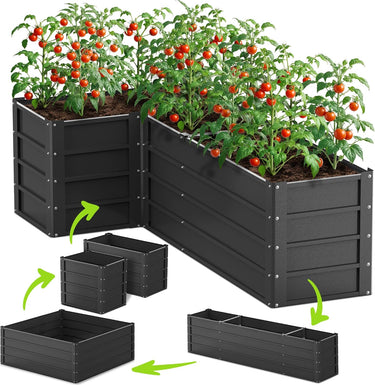
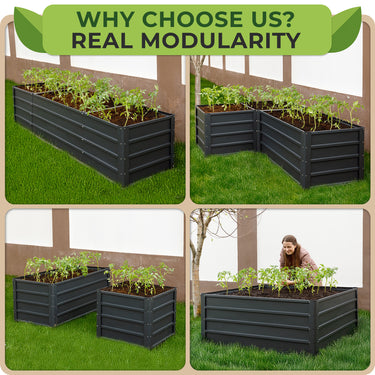
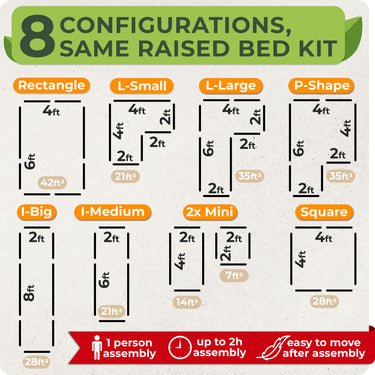
➢ Modular raised beds consist of interlocking panels or blocks that can be assembled into various shapes and sizes. This type of bed is ideal for gardeners who want to create unique layouts or adapt their garden design over time. Modular raised garden beds can be made from wood, metal, or composite materials and are often easy to set up and reconfigure.
➢ Traditional wooden frames offer a classic look and can be customized to any size or shape. Wooden frames are great for gardeners who appreciate a natural aesthetic and can be built to any height and width to suit different needs.
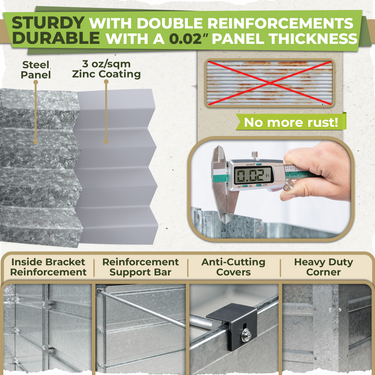
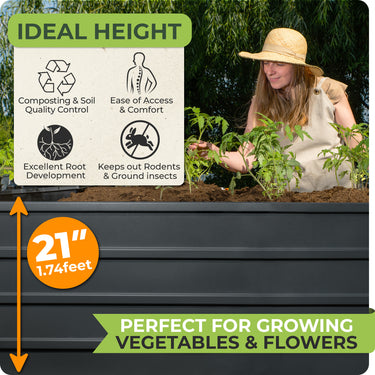
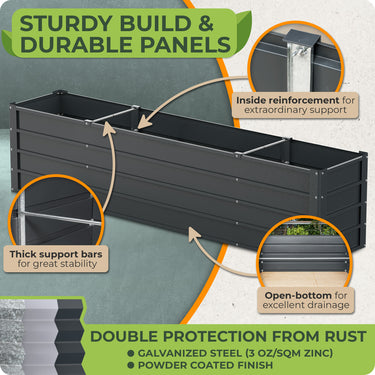
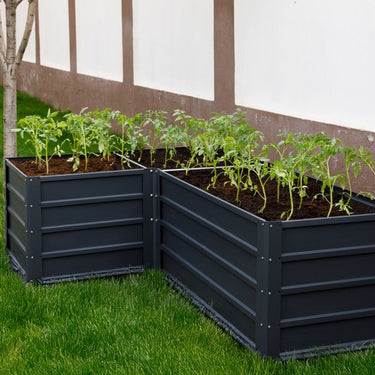
➢ Metal beds often have a modern, industrial look and are resistant to pests and rot. Their advantage is that they heat up quickly in the spring, which can extend the growing season, but they may require extra attention in very hot climates to prevent overheating.
➢ Plastic and composite beds are lightweight, resistant to decay, and often come with built-in features like irrigation systems or trellises. Plastic and composite beds are low-maintenance and are a good choice for those seeking durability and convenience.
➢ Stackable beds consist of multiple layers or levels that can be stacked to create a multi-tiered garden. This type of bed is perfect for small spaces or urban gardens where ground area is limited. Stackable beds offer easy access to plants and can also help with managing different soil types or growing conditions.
Like any good tool, raised garden beds work best when used properly. Whether you're a seasoned gardener or just getting your hands dirty for the first time, these tips will help you make the most of your raised beds:
➤ Start with a solid foundation: line the bottom with cardboard or newspaper to suppress weeds. Don't worry, it'll decompose over time!
➤ Add some chunky bits: a layer of sticks, small branches, or even logs can improve drainage and slowly release nutrients as they decompose. It's like a time-release fertilizer!
➤ Get composty: add a generous layer of compost or well-rotted manure. This is the nutritious heart of your soil mix.
➤ Bulk it up: mix in some topsoil or garden soil. This gives your mix substance and helps balance moisture retention.
➤ Top it off: finish with a layer of high-quality potting mix or more compost. This gives your plants a cozy place to start their lives.
➤ Pro tip: aim for a mix that's about 1/3 compost, 1/3 topsoil, and 1/3 vermiculite or perlite for ideal drainage and water retention.
Now that you've filled your beds with care, let's make sure they stand the test of time:
➨ Mulch magic: Add a 2-3 inch layer of organic mulch on top. This conserves moisture, suppresses weeds, and slowly feeds your soil as it breaks down. Straw, leaves, or wood chips work great!
➨ Rotate like a pro: Change up where you plant things each year. This helps prevent soil depletion and reduces pest and disease problems.
➨ Cover up: Use row covers or hoop houses to protect your beds from harsh weather and extend your growing season.
➨ Feed annually: Top up your beds each spring with a fresh layer of compost. Your plants will thank you!
➨ Water wisely: Install a drip irrigation system to ensure consistent moisture without waterlogging.
➨ Build barriers: If critters are an issue, consider adding hardware cloth under your beds or fencing around them.
➨ Rest and rejuvenate: Consider letting a bed "rest" for a season, planting a cover crop to naturally replenish nutrients.
Therefore, creating and maintaining a raised garden bed is an exciting journey that offers endless possibilities for growing healthy, vibrant plants. With the right materials, proper soil mix, and thoughtful care, your raised bed will thrive, providing beauty and bountiful harvests season after season.
Remember, your raised bed is a little ecosystem. Treat it with love, learn from what works and what doesn’t, and don’t be afraid to experiment. Gardening is as much about discovery as it is about growth, so embrace the process, adjust as you go, and enjoy the rewards of your hard work!


